I have an older Acer Chromebook that I run Debian on thanks to coreboot and the MrChromebox script. It's not a very powerful machine, having only 2GB of RAM, a 2.16GHz Intel Celeron N2840, and 16GB of storage. Despite that, I've grown pretty fond of it. It's super lightweight, it boots fast, the battery lasts for a long time, and I like the matte screen as opposed to the glossy ones you see on the touchscreen Chromebook models (which are much harder to see in bright light). I love it as a great middle-step between a phone and a full fledged laptop. Perfect for quickly whipping out to do some SSH or light web browsing.
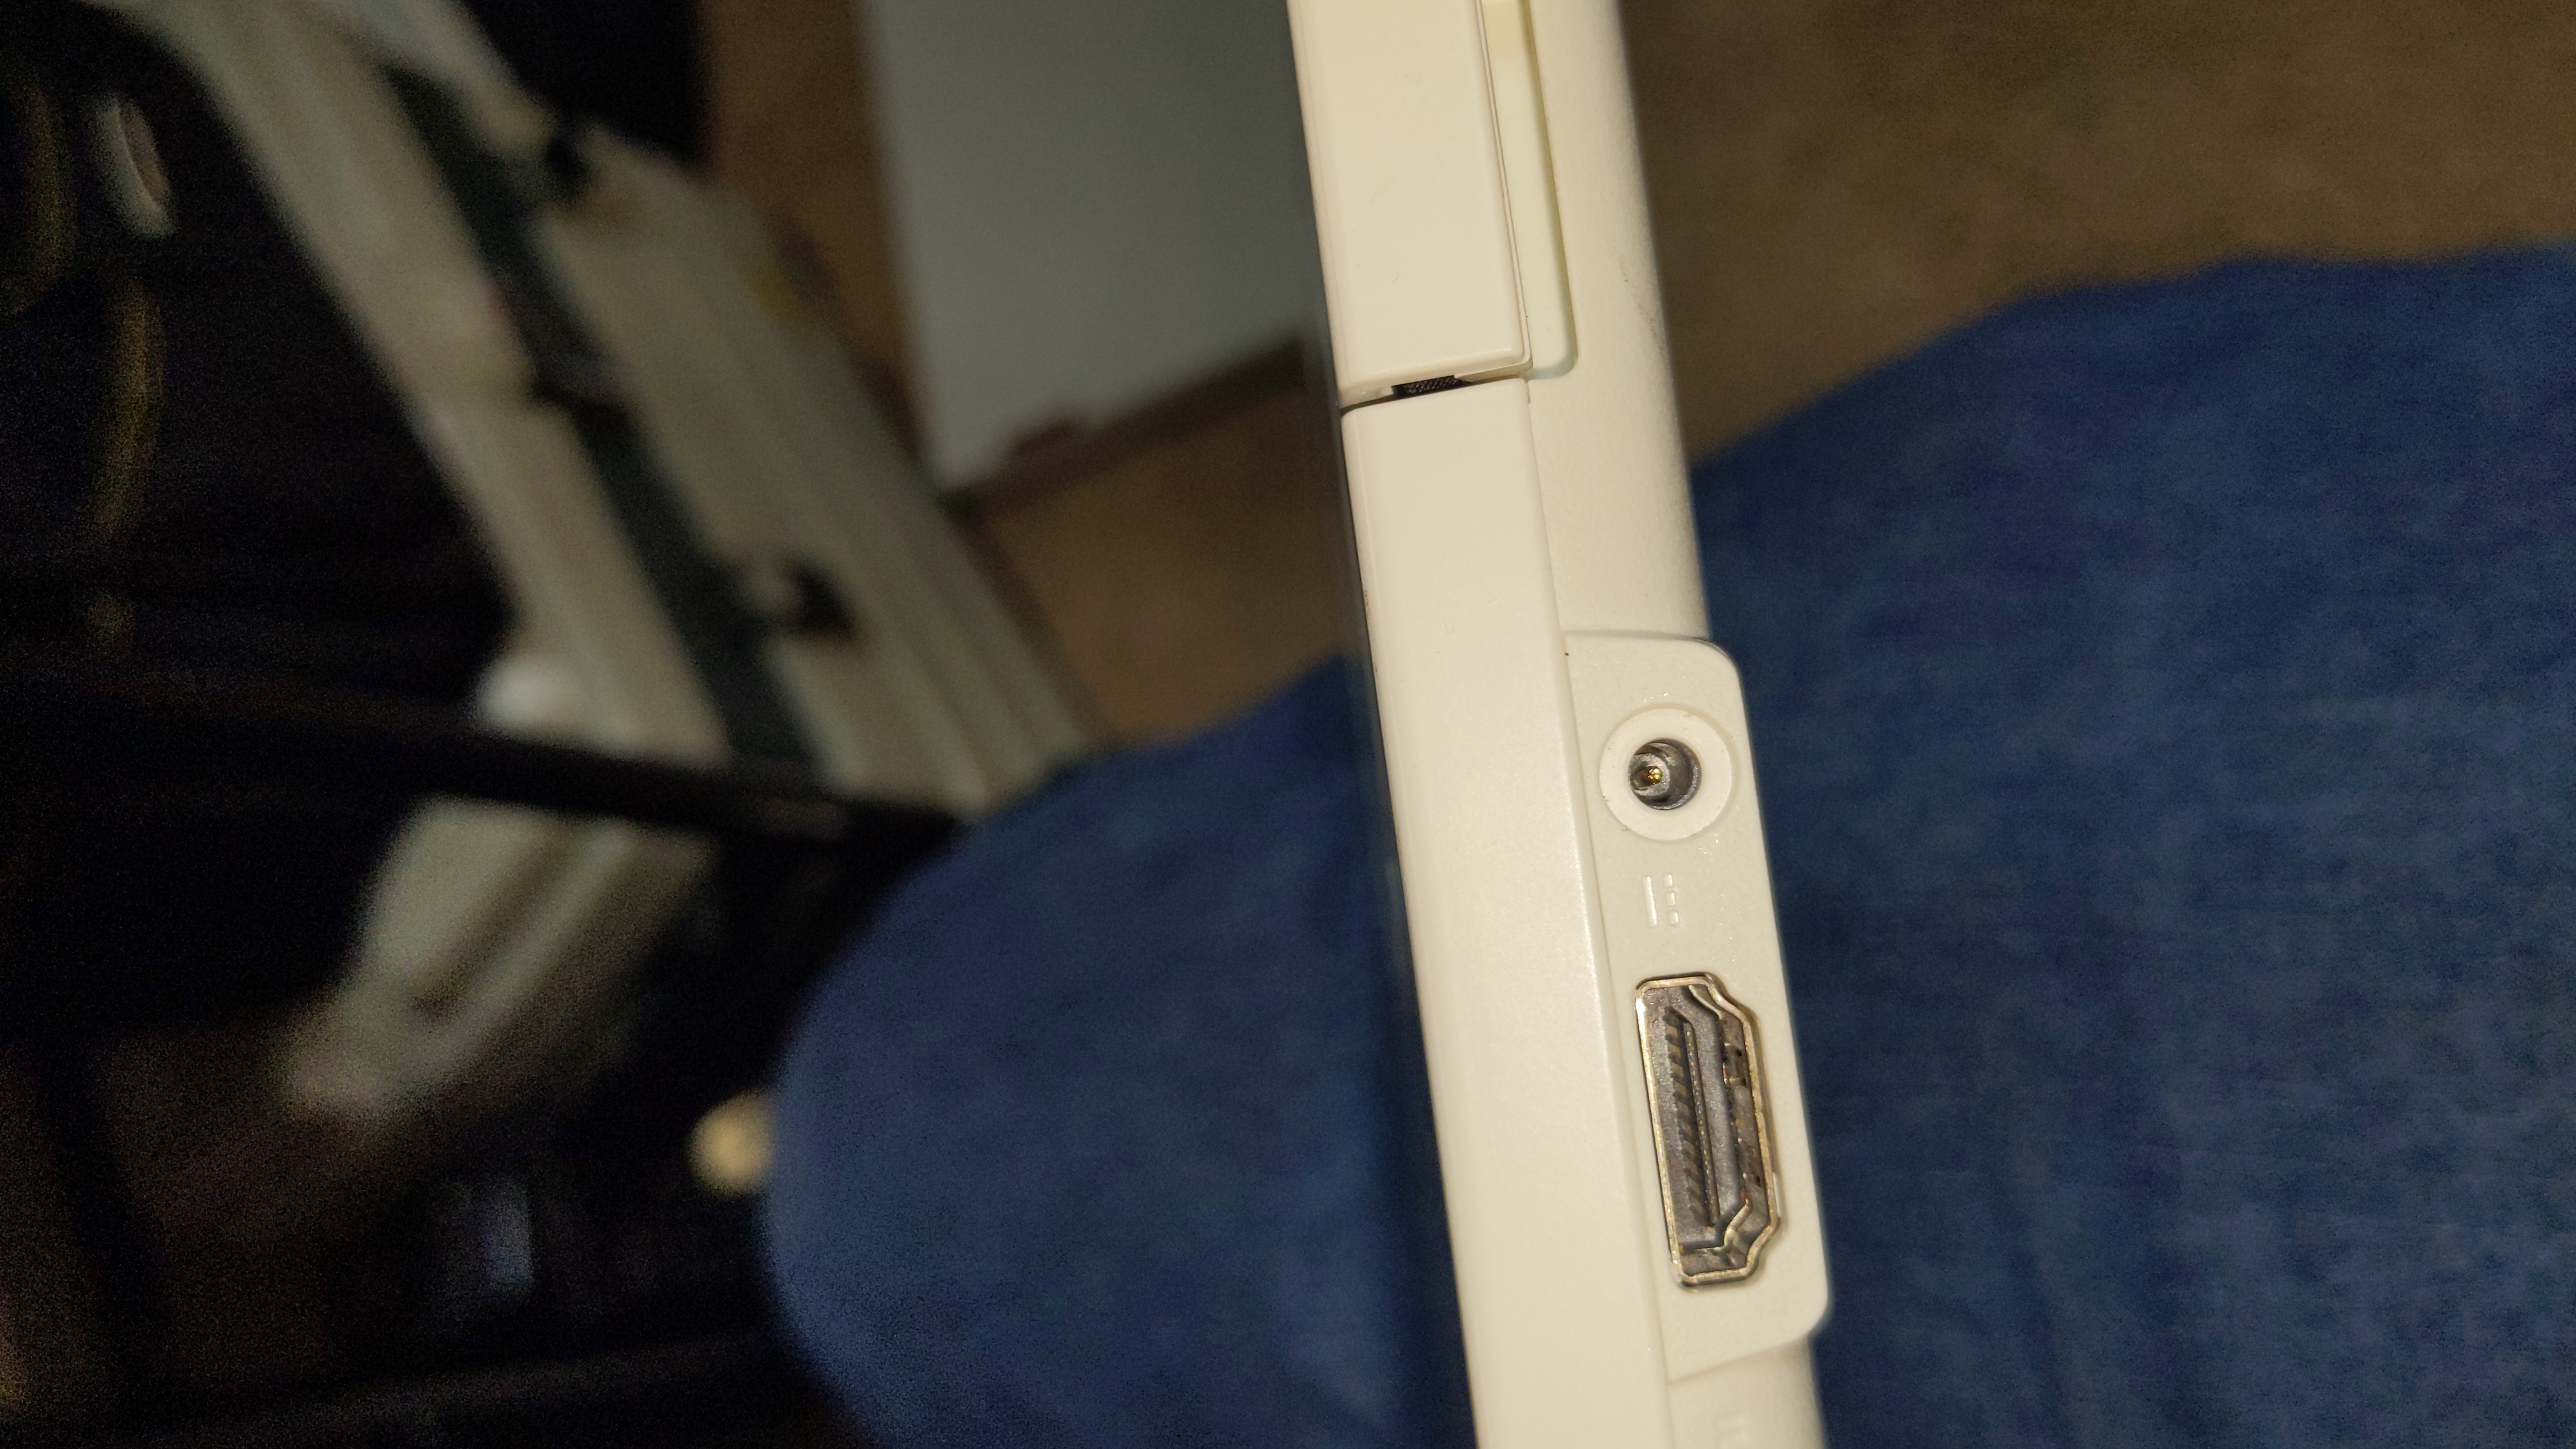
I really only have one complaint about it: Like most notebooks/netbooks/chromebooks, the charge port is a DC barrel jack. Having to carry a dedicated charger for this does somewhat reduce the convience. Wouldn't it be great if I could use a USB-C charger? Then I arguably wouldn't need to carry a charger at all, given how (thankfully) ubiquitus USB-C chargers are.
So let's do it!
Now, before doing this, there are a couple things to consider:
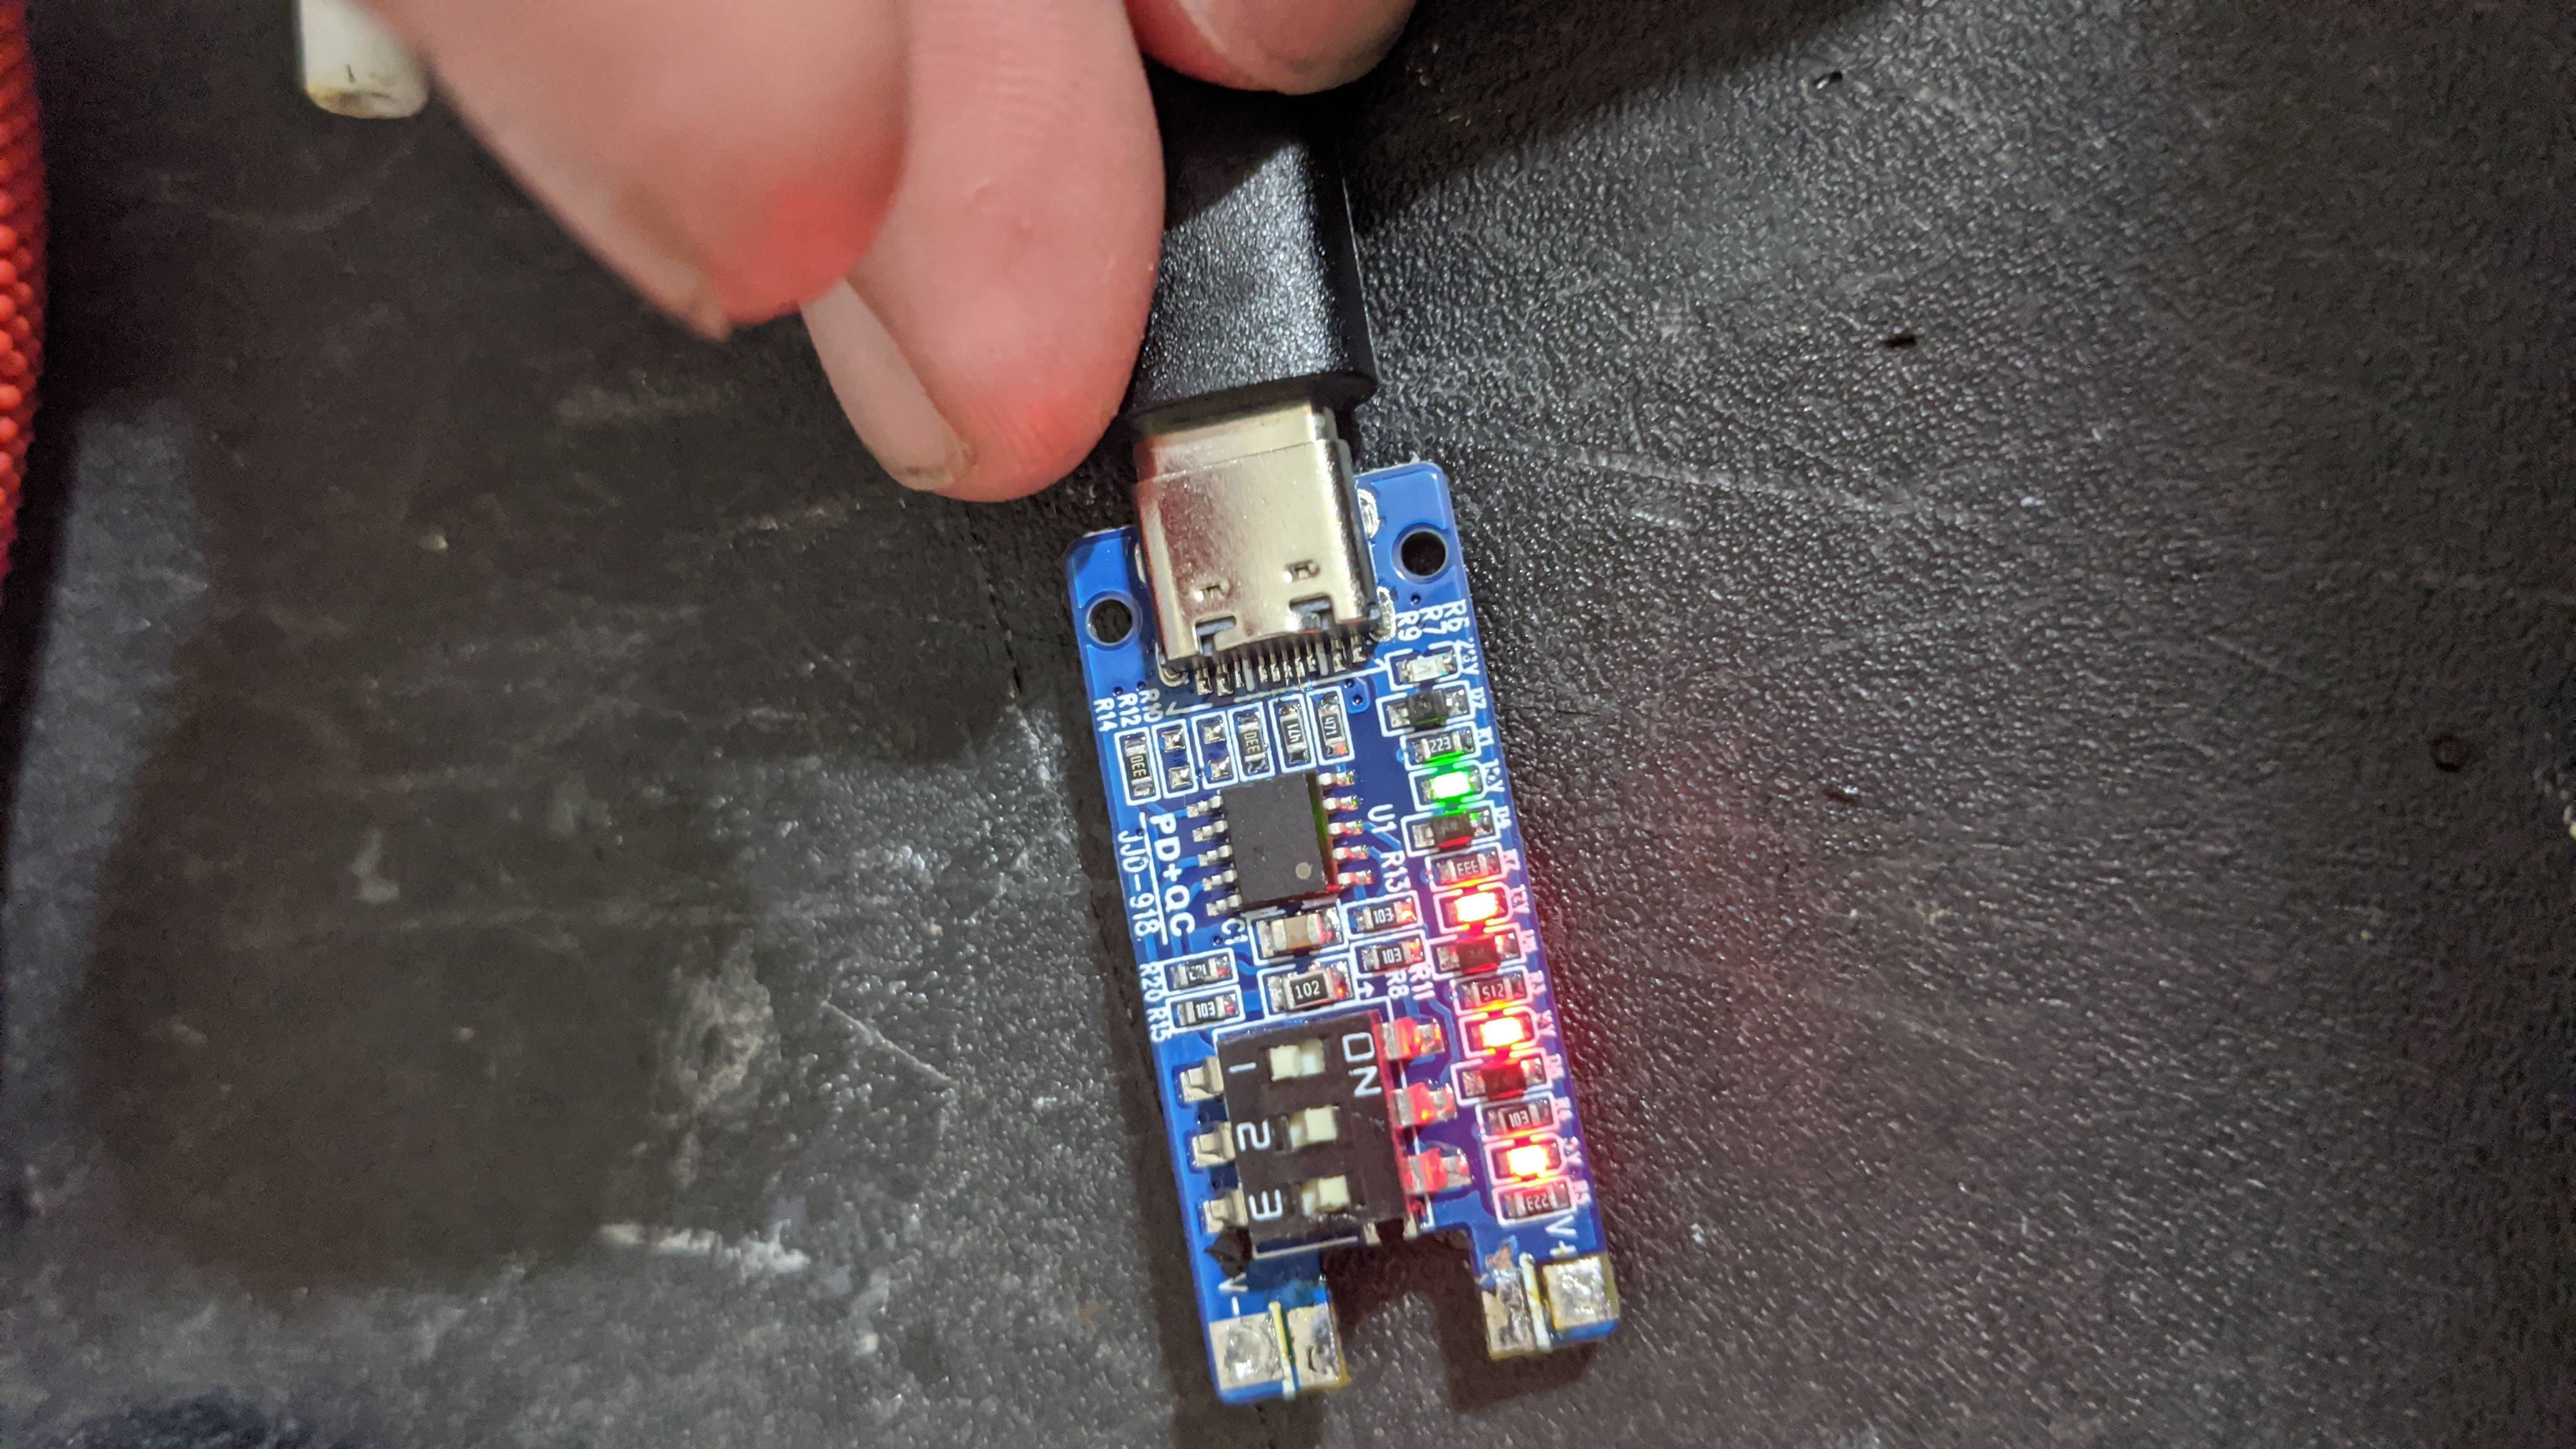
For this project, we're going to make use of a cheap little USB-C power delivery module that will trigger USB power delivery. There are tons of different models, I bought this one off Amazon. It's nice because you can adjust the output voltage with dip switches, but it does have the downside(?) that it comes with a barrel jack (I removed that as you will see) and being a bit bulky. They make smaller ones. Just make sure whatever one you get fits the space in your Chromebook and has equal voltage, and equal or greater amperage to the original charger.
My Chromebook takes 19V, this does 20V. Close enough. On testing, I found the Chromebook charger actually is reading 19.2V and this module on the 20V setting put out about 19.6V. That'll do. As long as you're within +/-1V of the original, you should be fine. Somewhere an electrical engineer just wept. Oh well. If you blow yours up don't blame me.
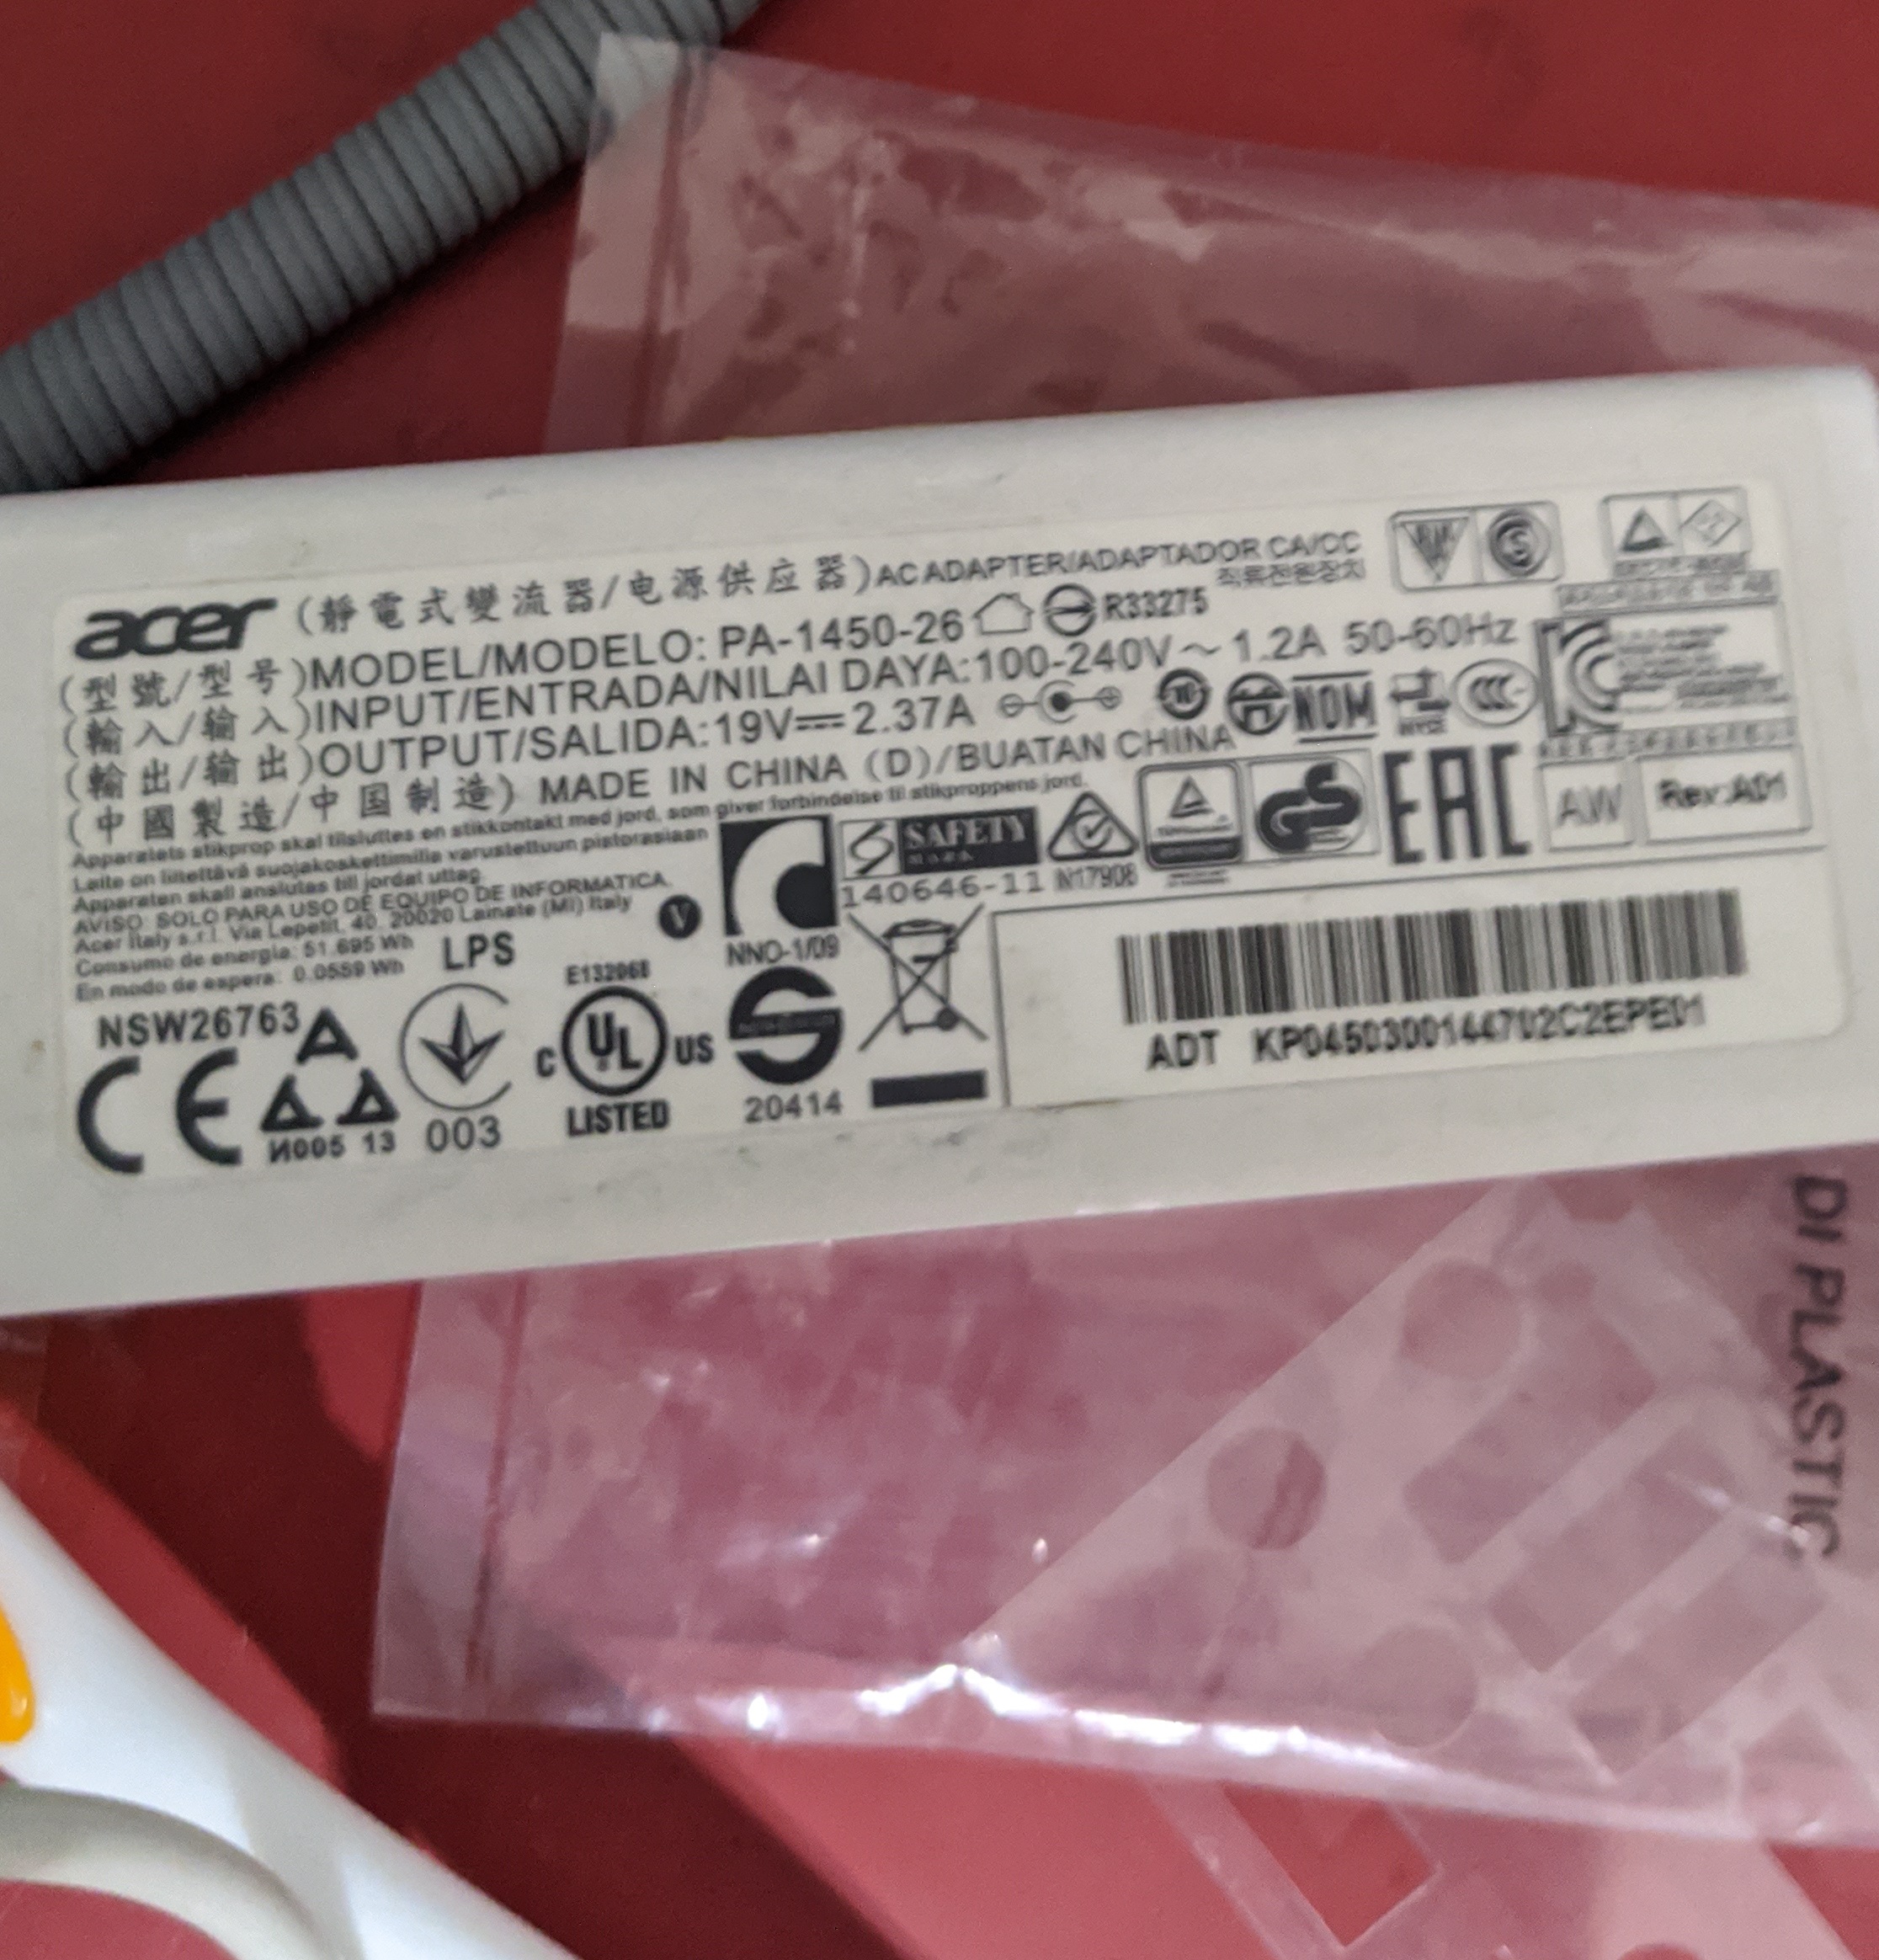
Again, make sure to check the voltages on your specific charger.
Note: For all pics, right click and open in new tab to see full size.
The first step was to remove the DC barrel dong sticking off the end of the module here. There was a lot of solder to remove but with patience it eventually it came loose.
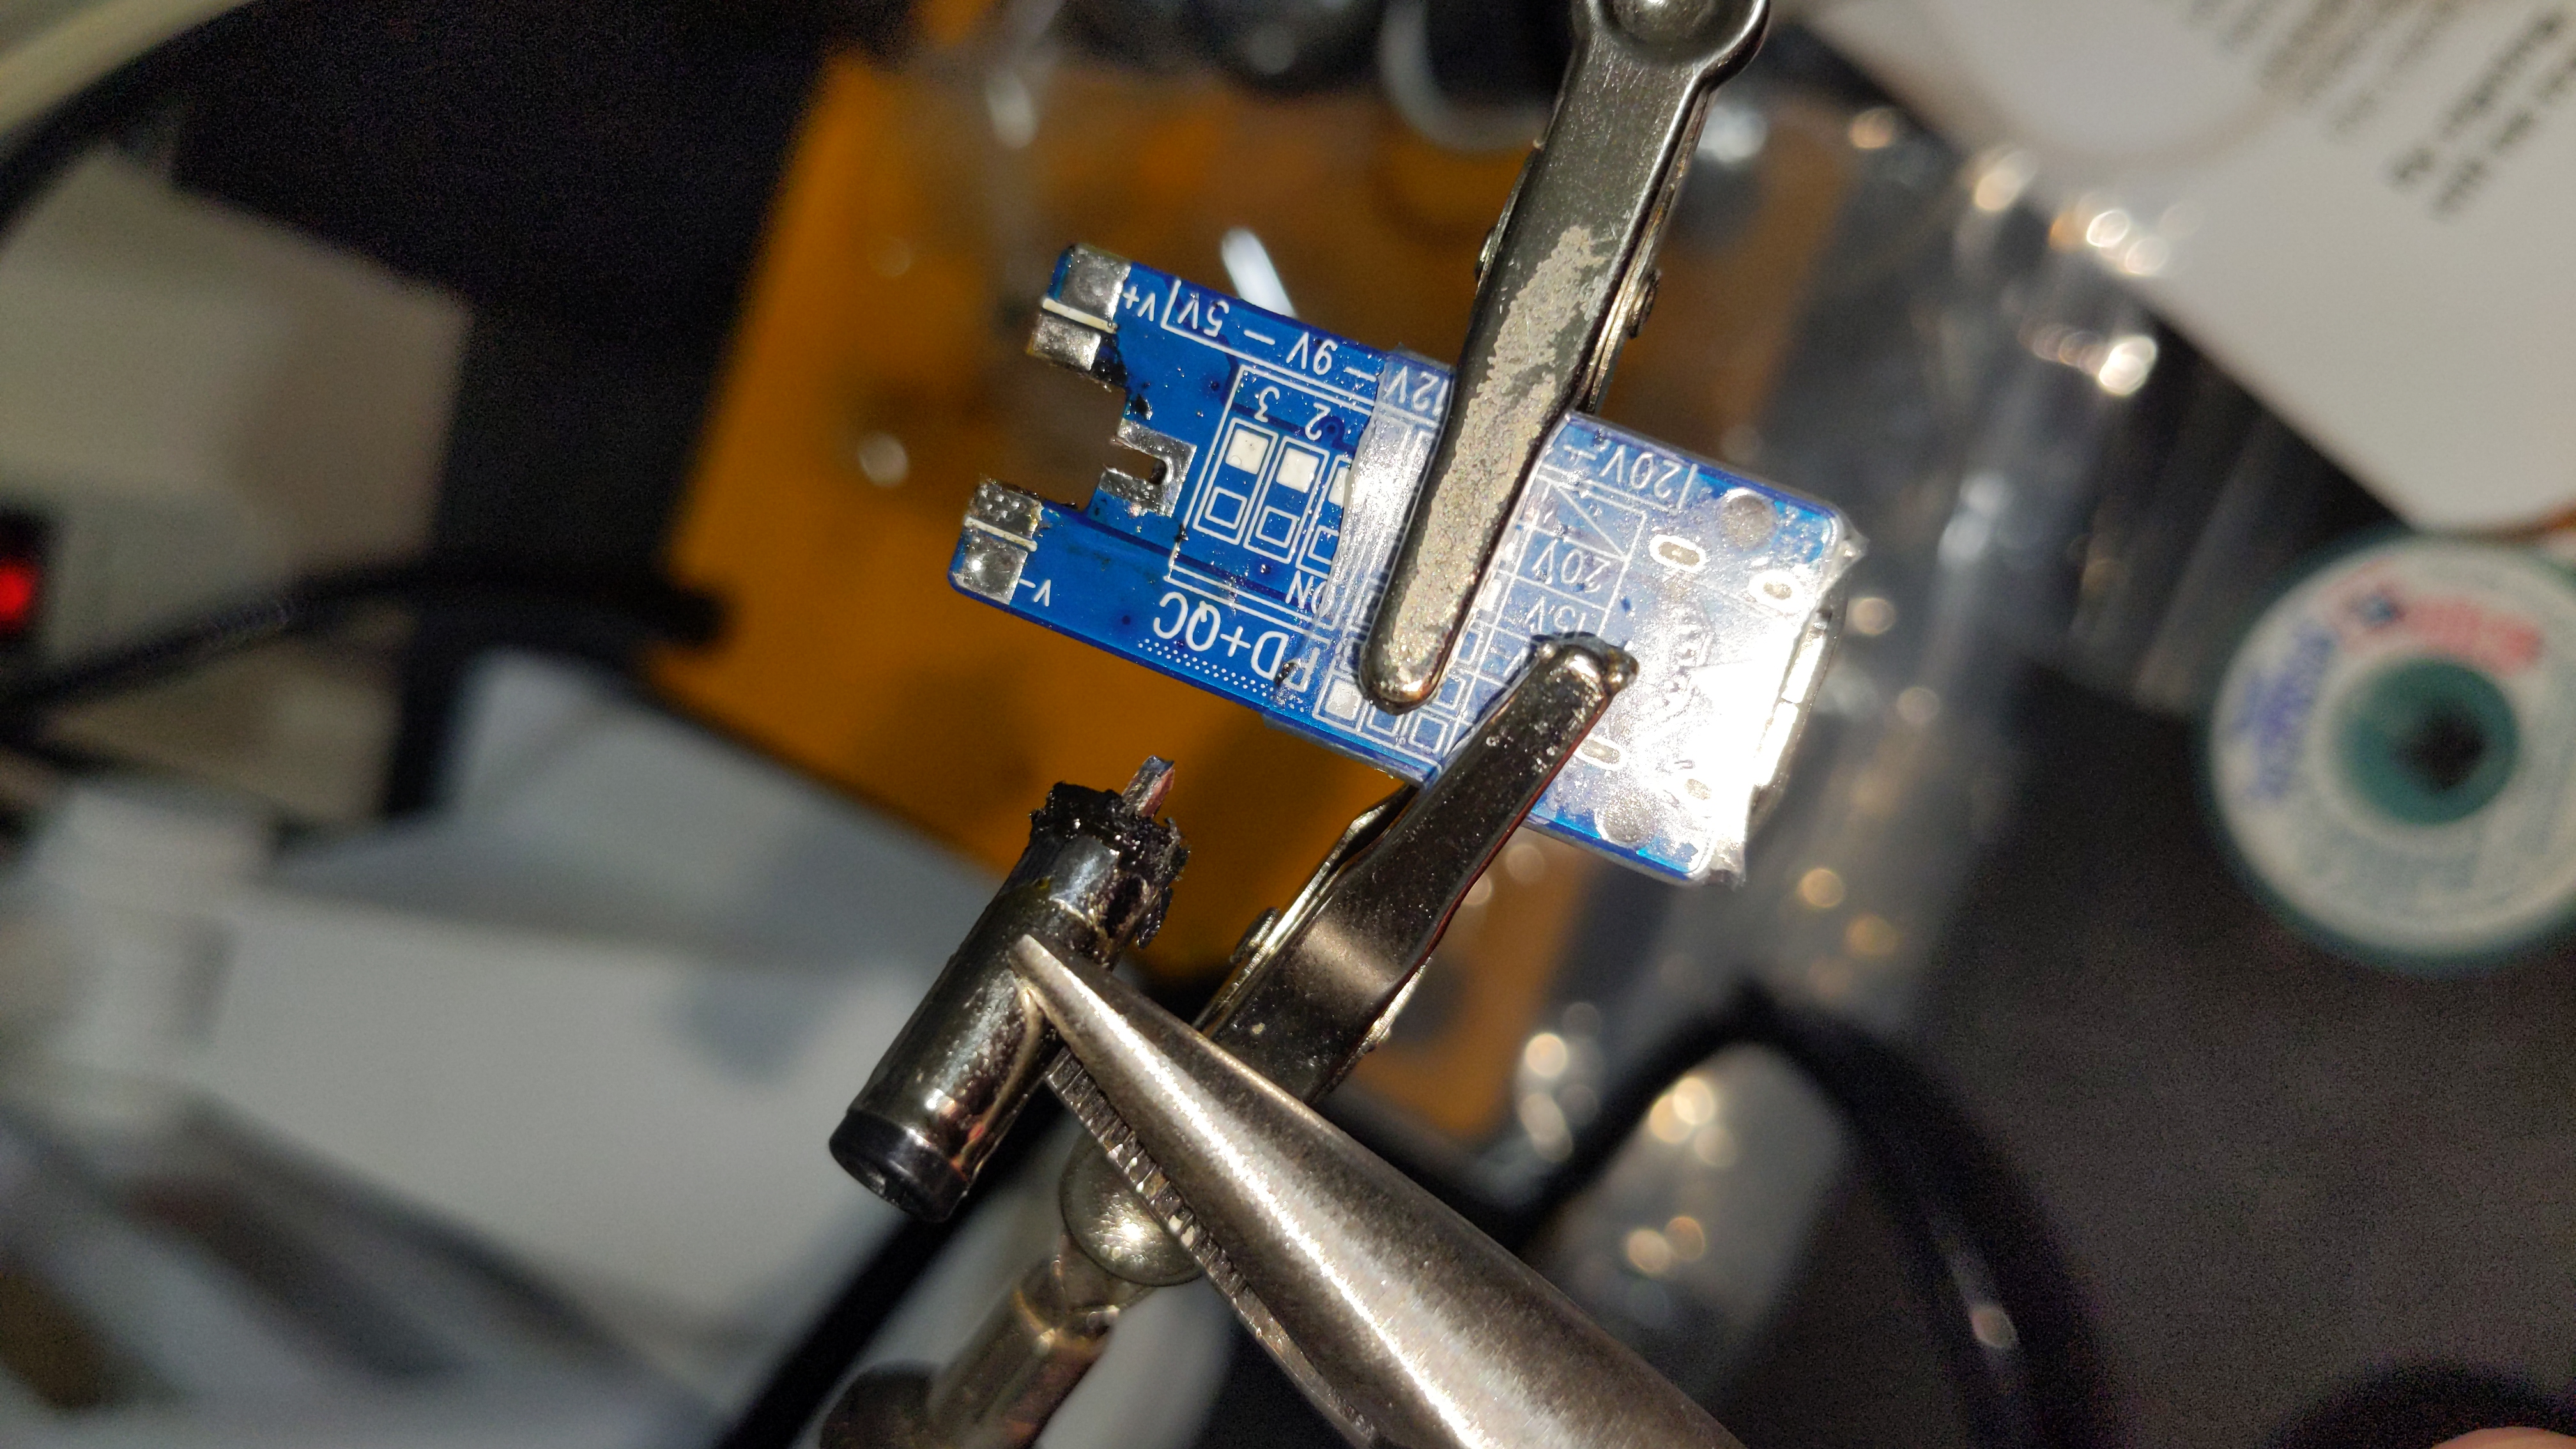
After doing this, I tested the voltage off the USB module with a multimeter (not pictured) just to make sure it wasn't damaged. This particular one has the benefit of having LED indicators for the voltage level. Obviously won't be visible once in the Chromebook, but handy for the build.
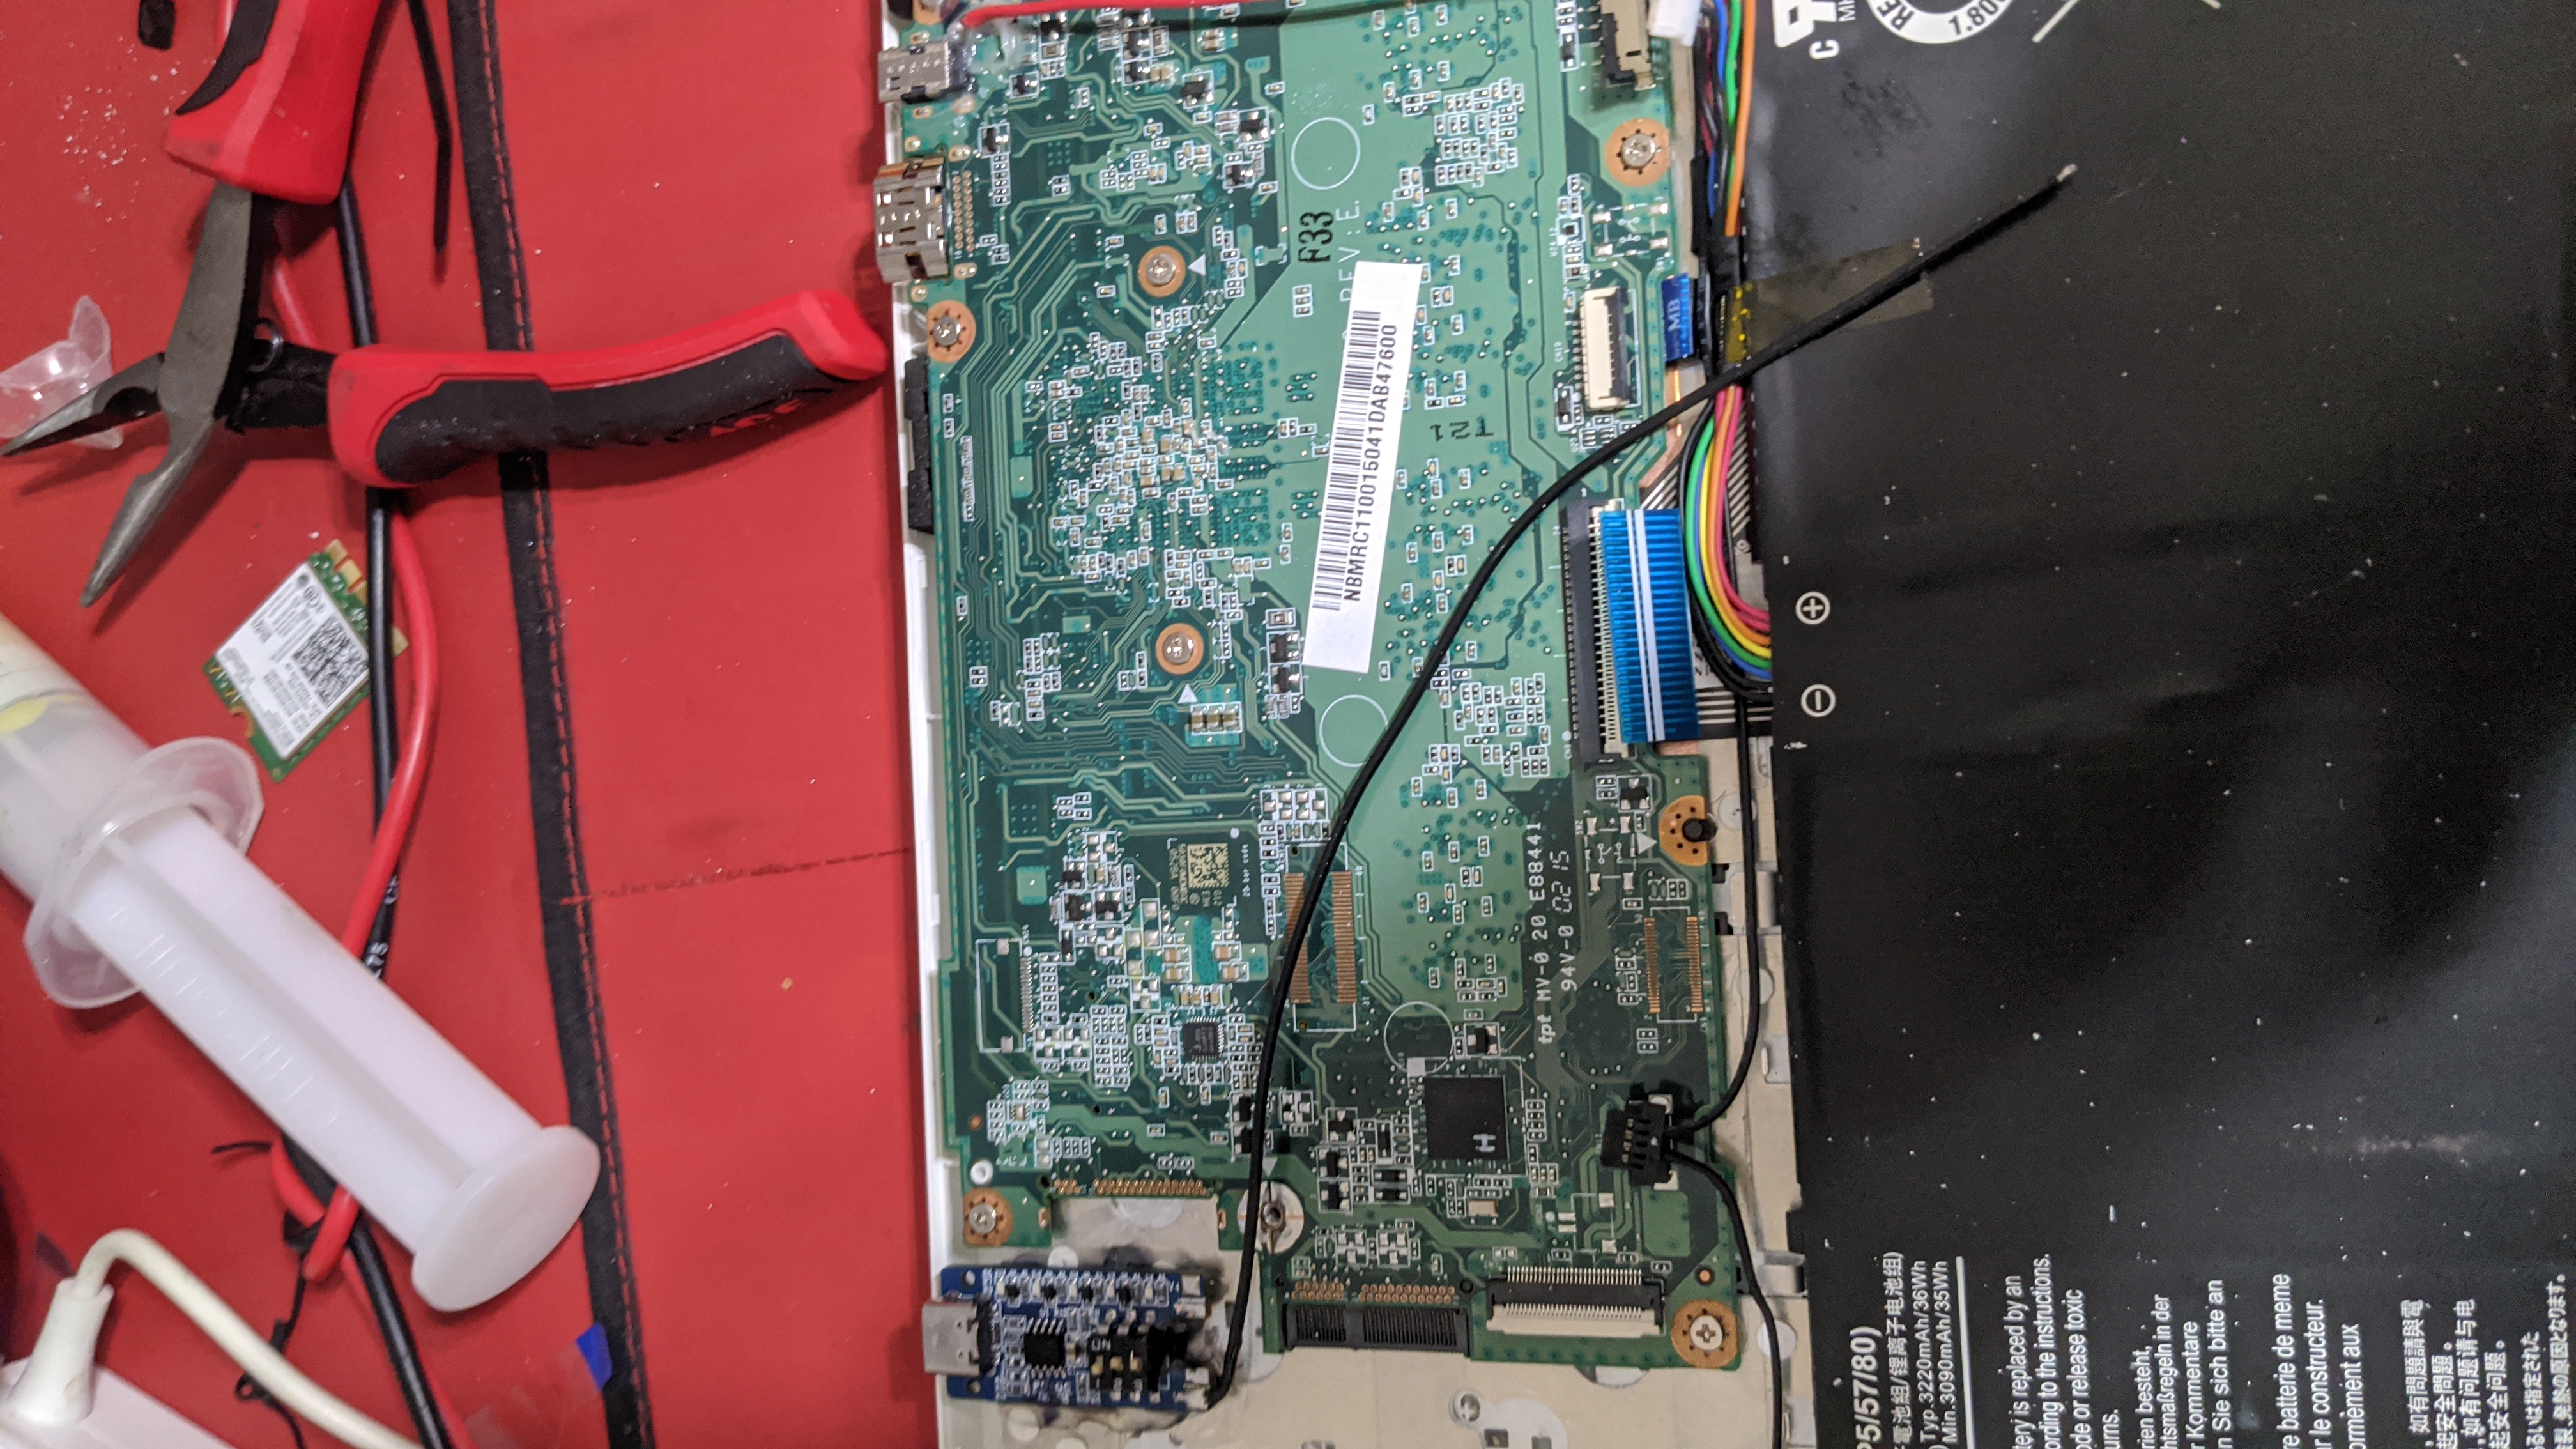
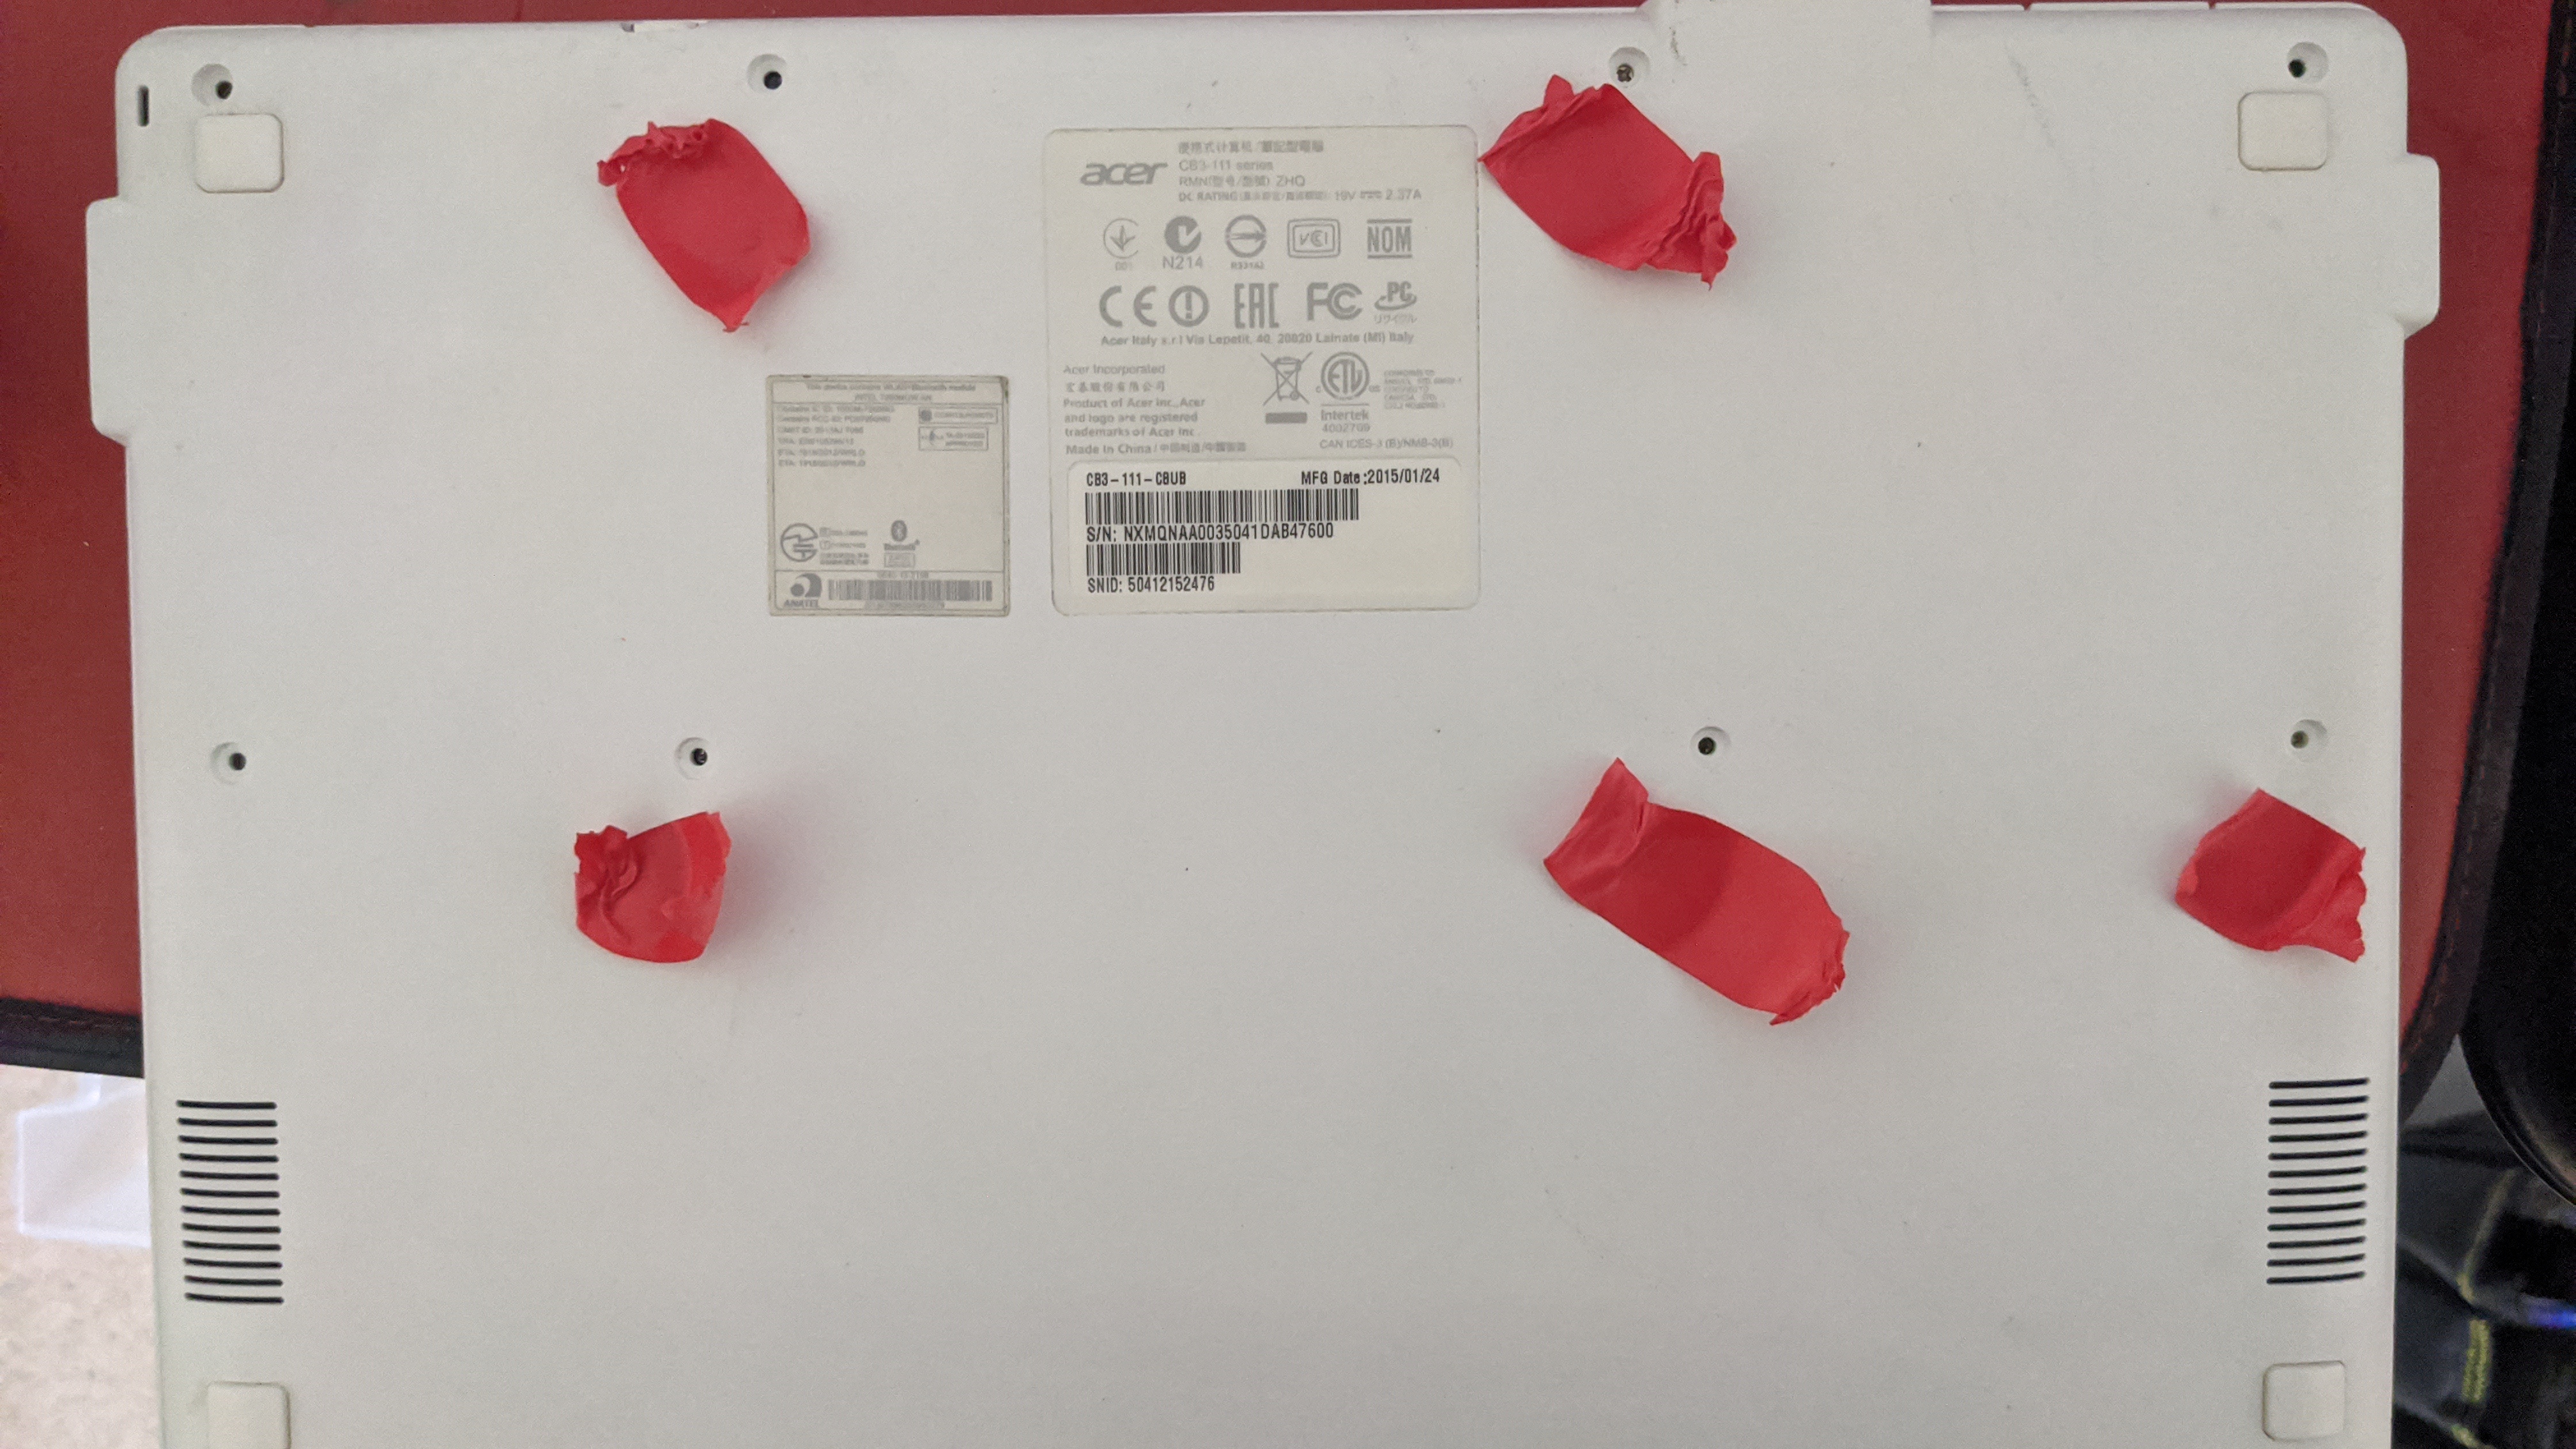
Next, we open the Chromebook. Take out all the screws and slowly pry off the bottom half of the shell. Yours might be different. Do this gently.
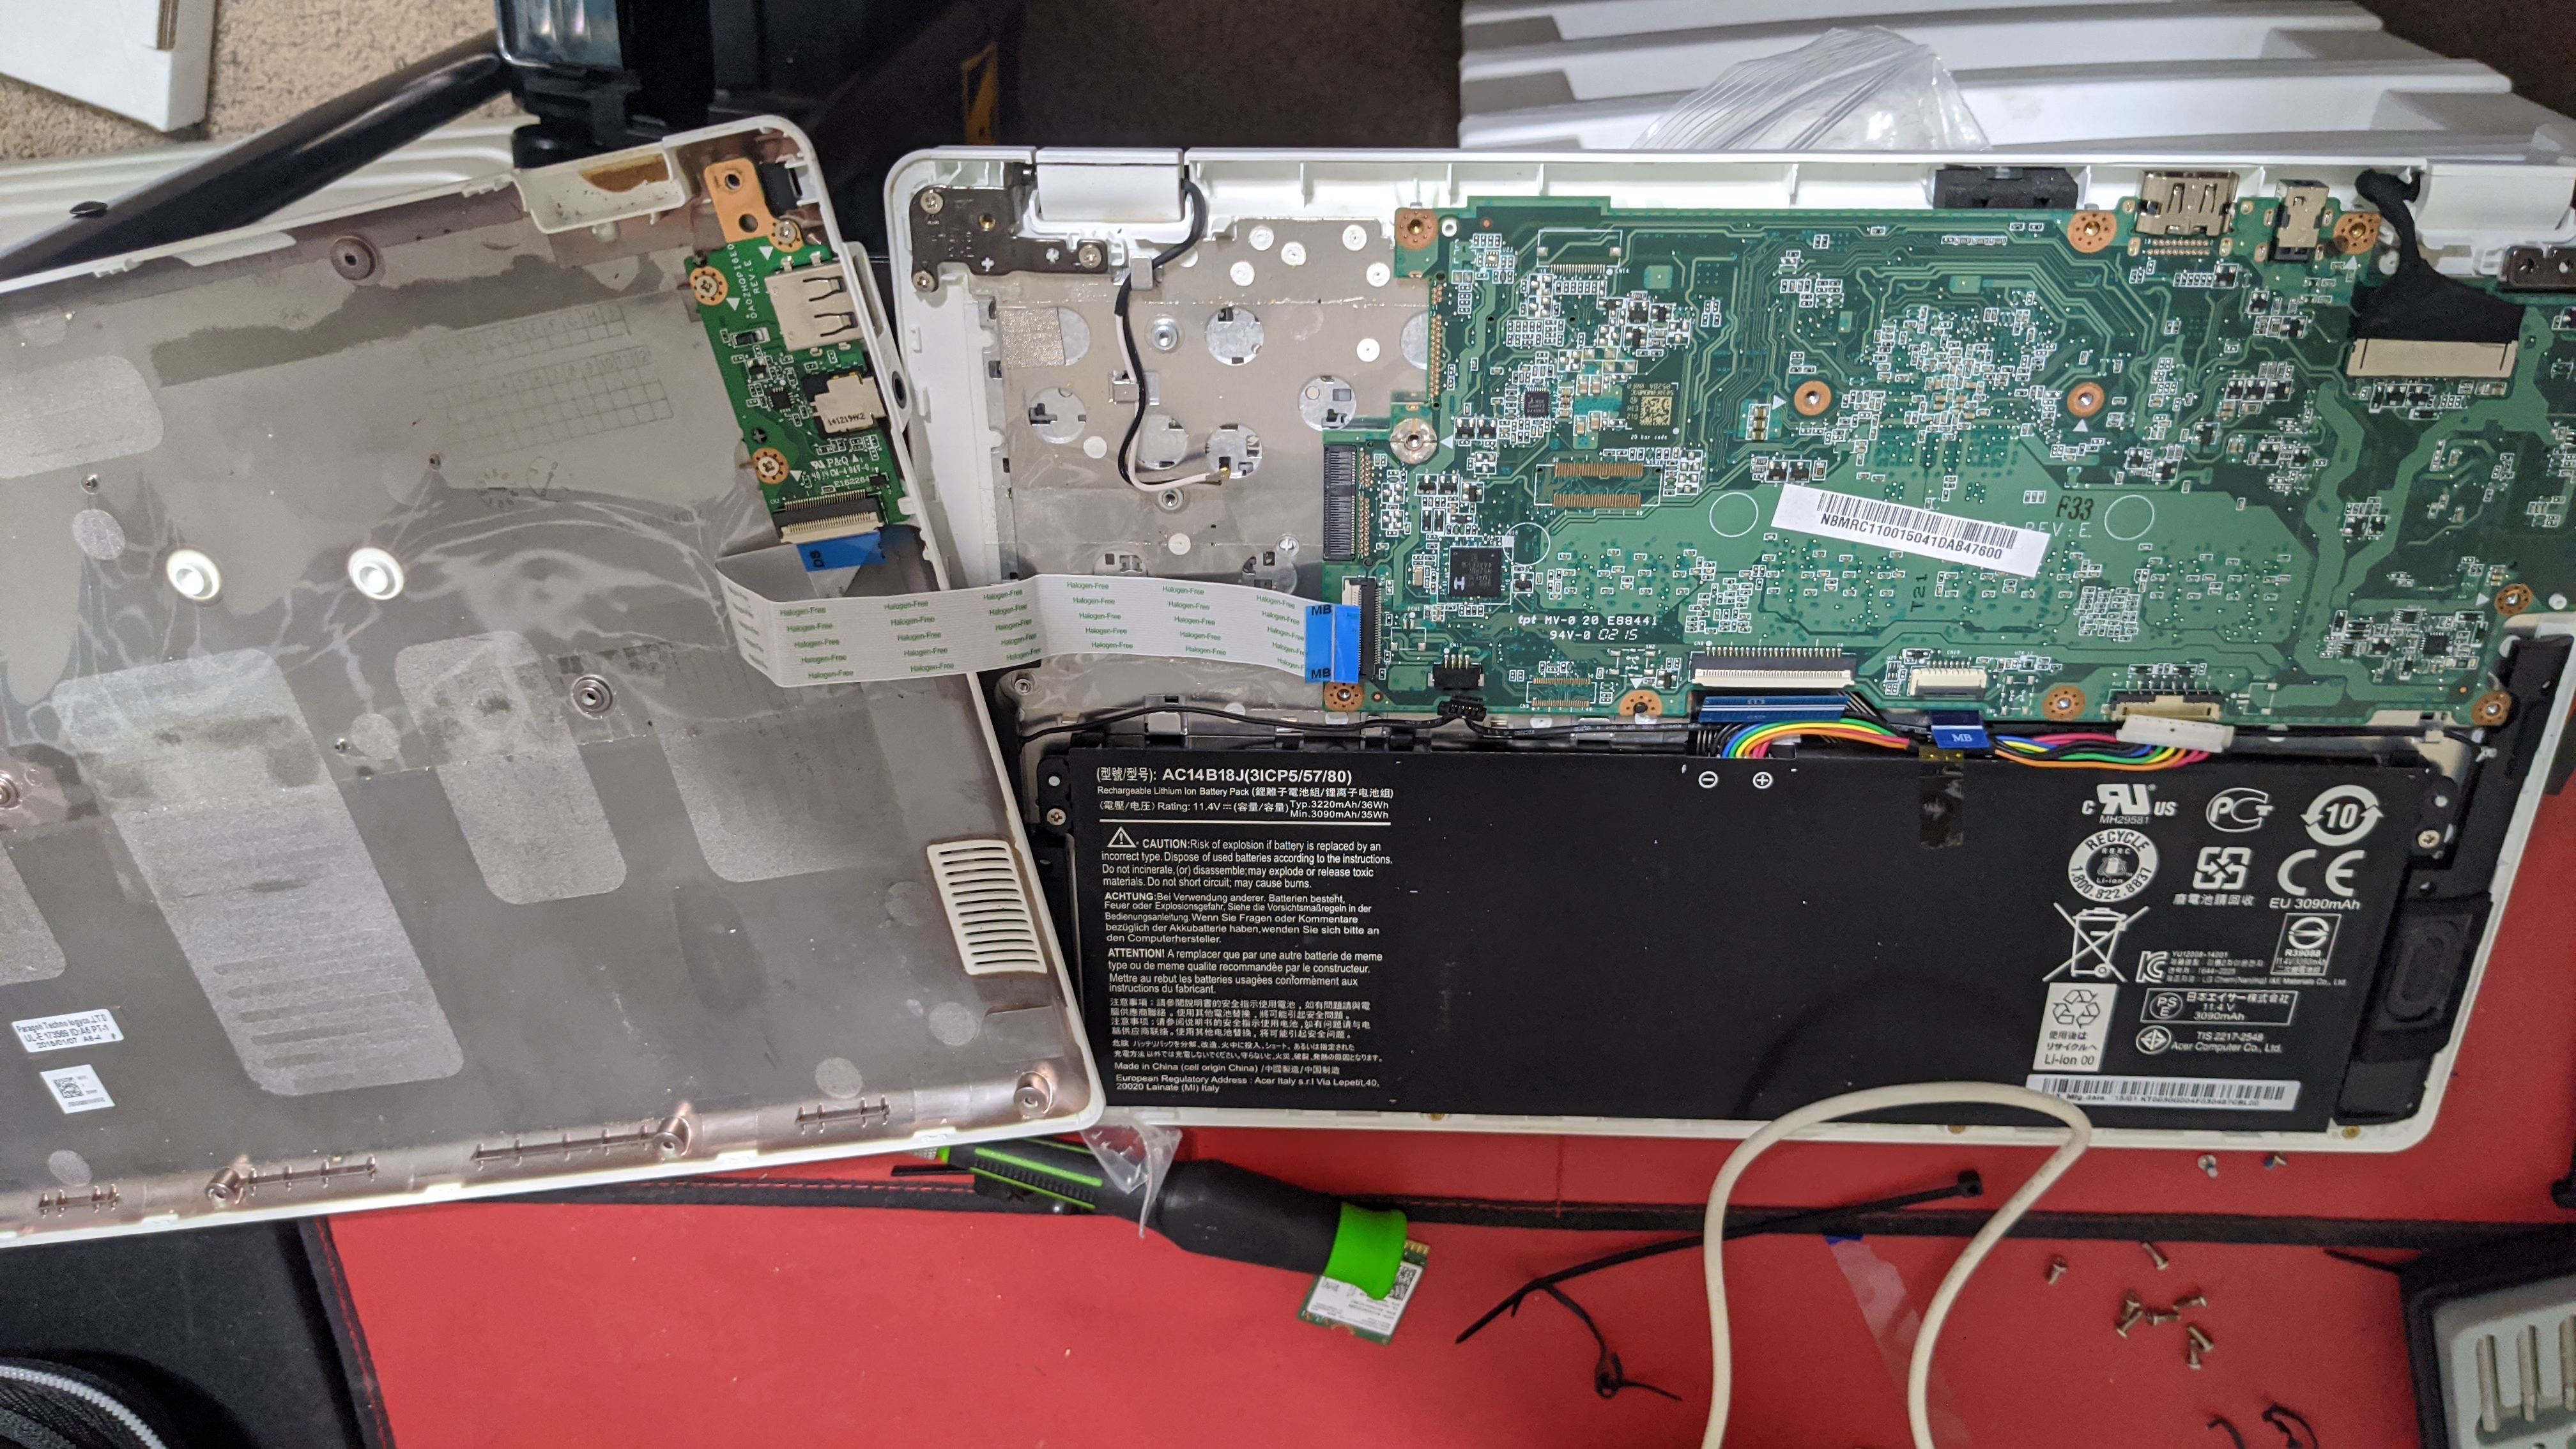
I was originally going to pull the whole motherboard out, hend the removal of of the WiFi adapter (where the black and white wires are) and all the screws. I soon realized this was not required and actually would have just made it harder
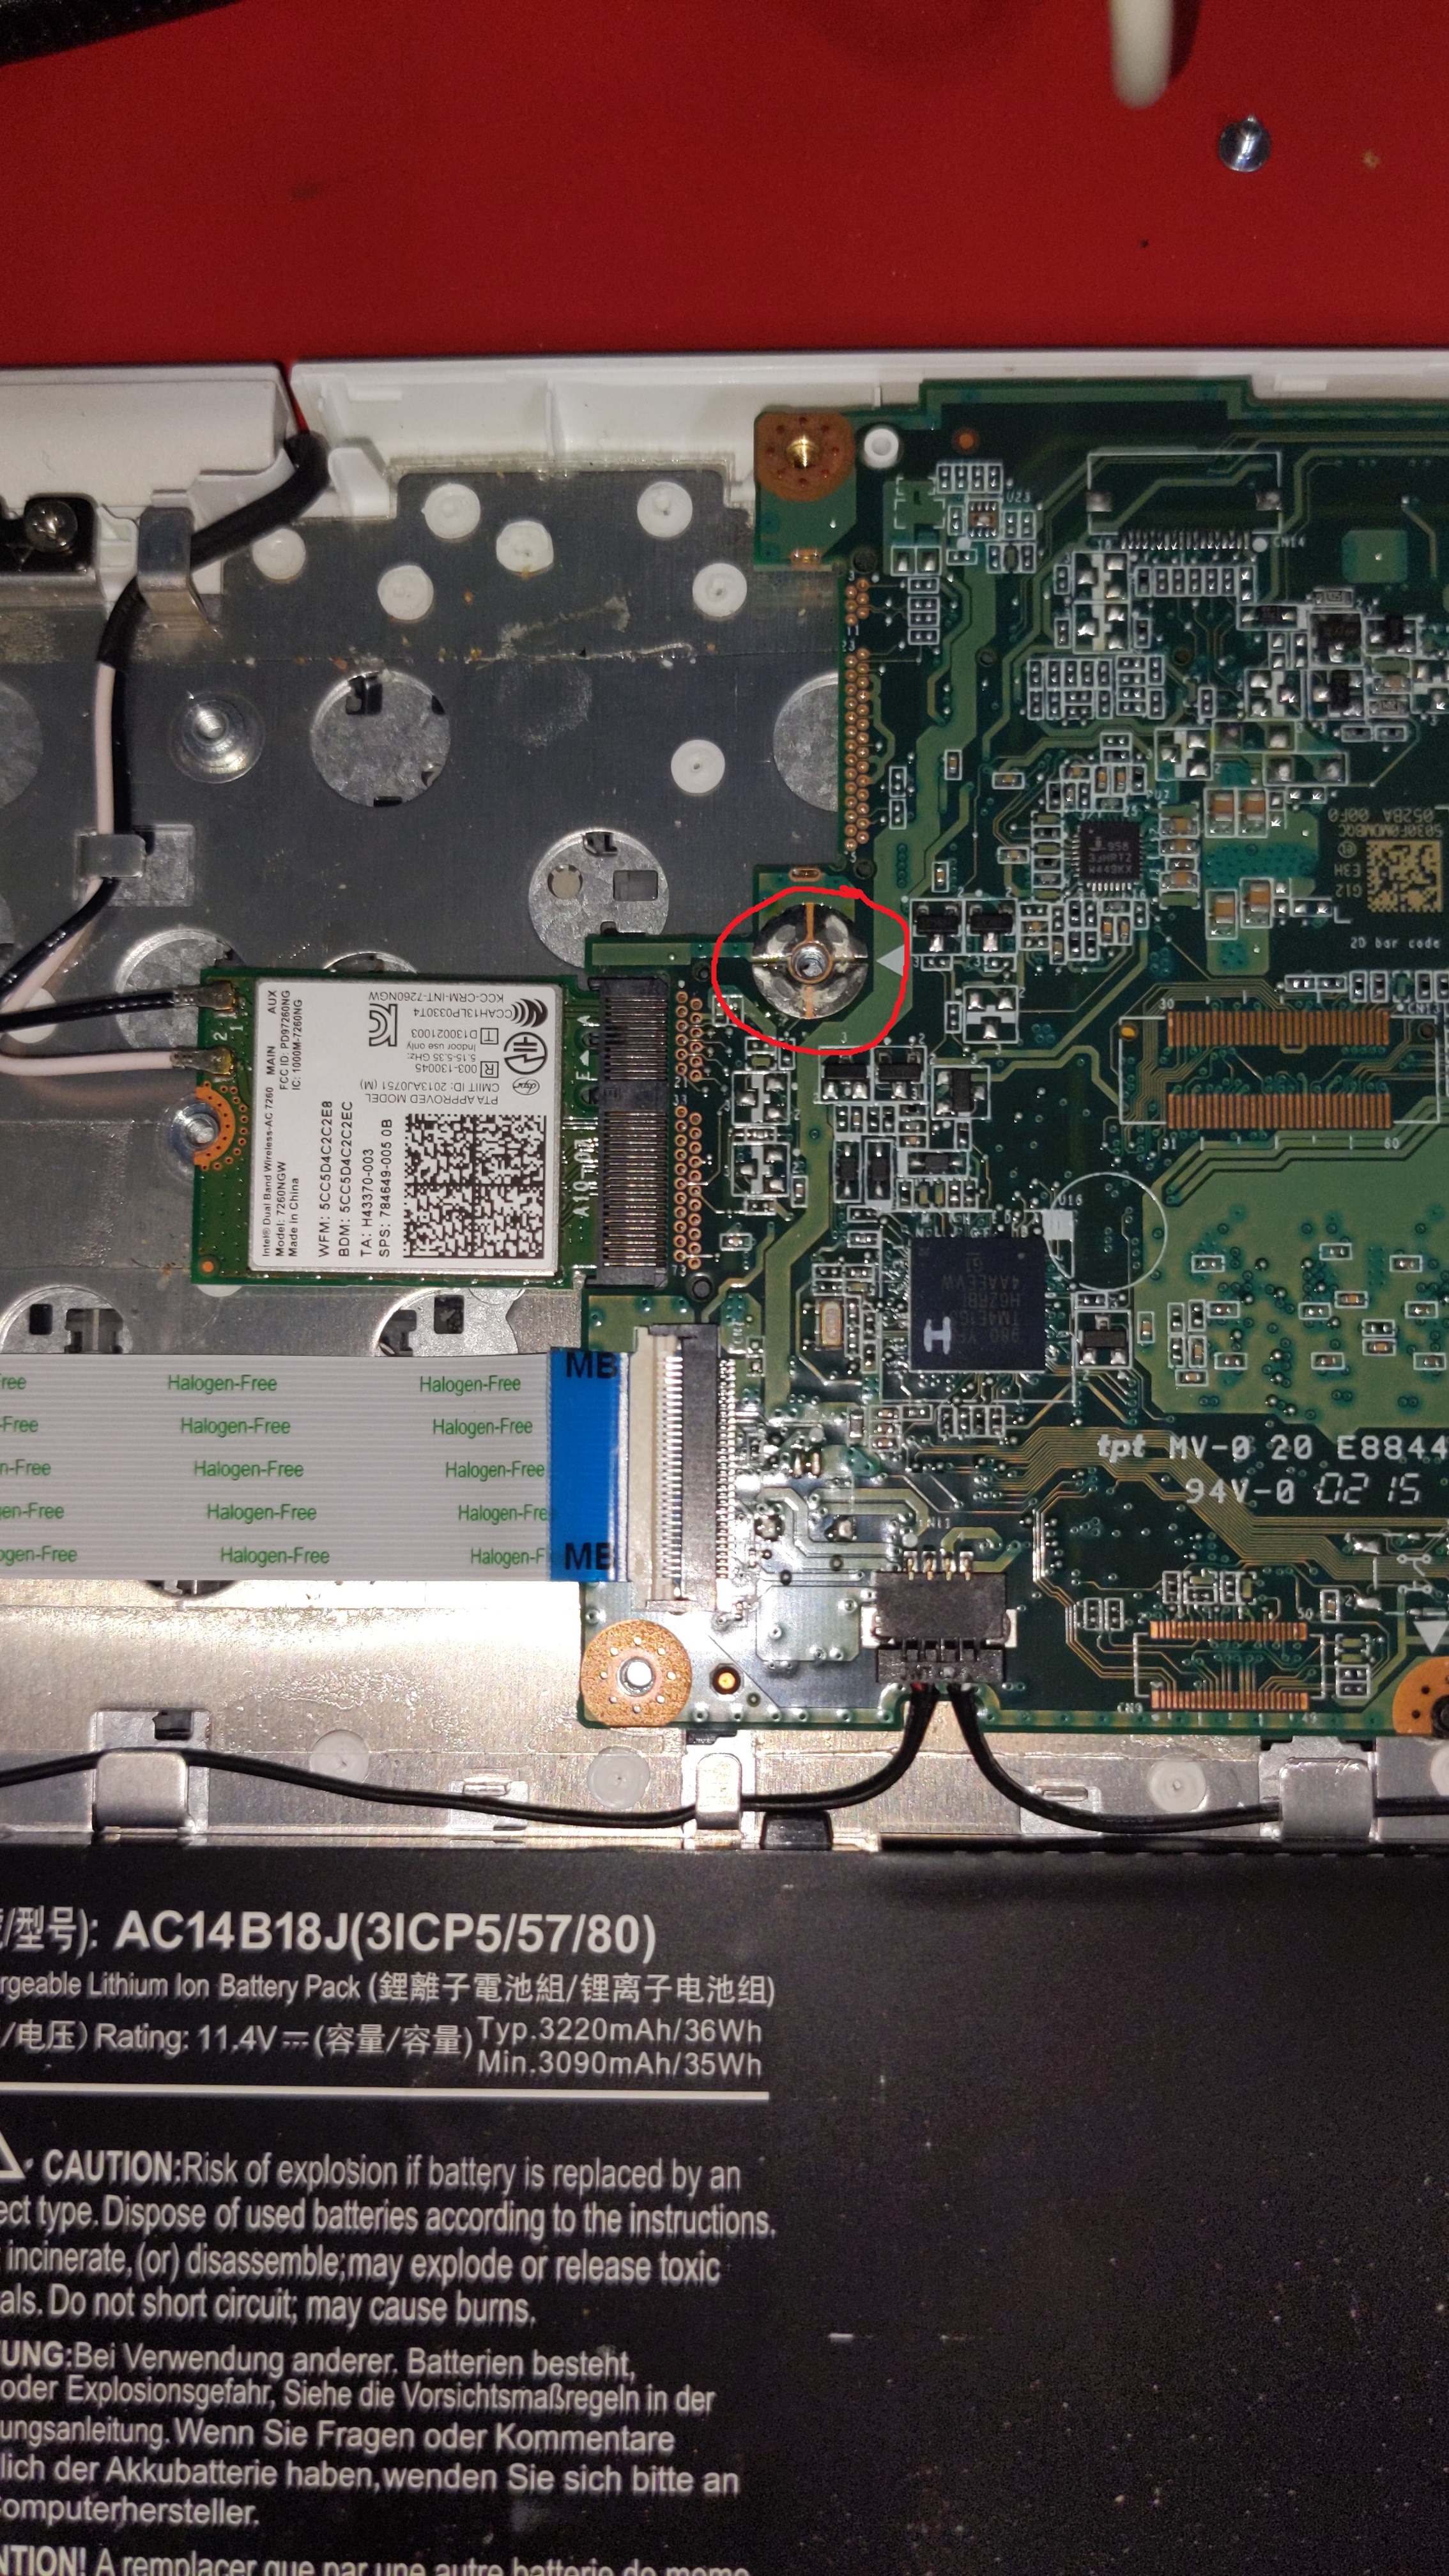
One thing I should mention here, if you want to access the bootloader on a Chromebook you need to remove the security screw. I had already done this prior. It's just a short stubby little screw with a wide Phillips head. The screw is not shown here and not needed.
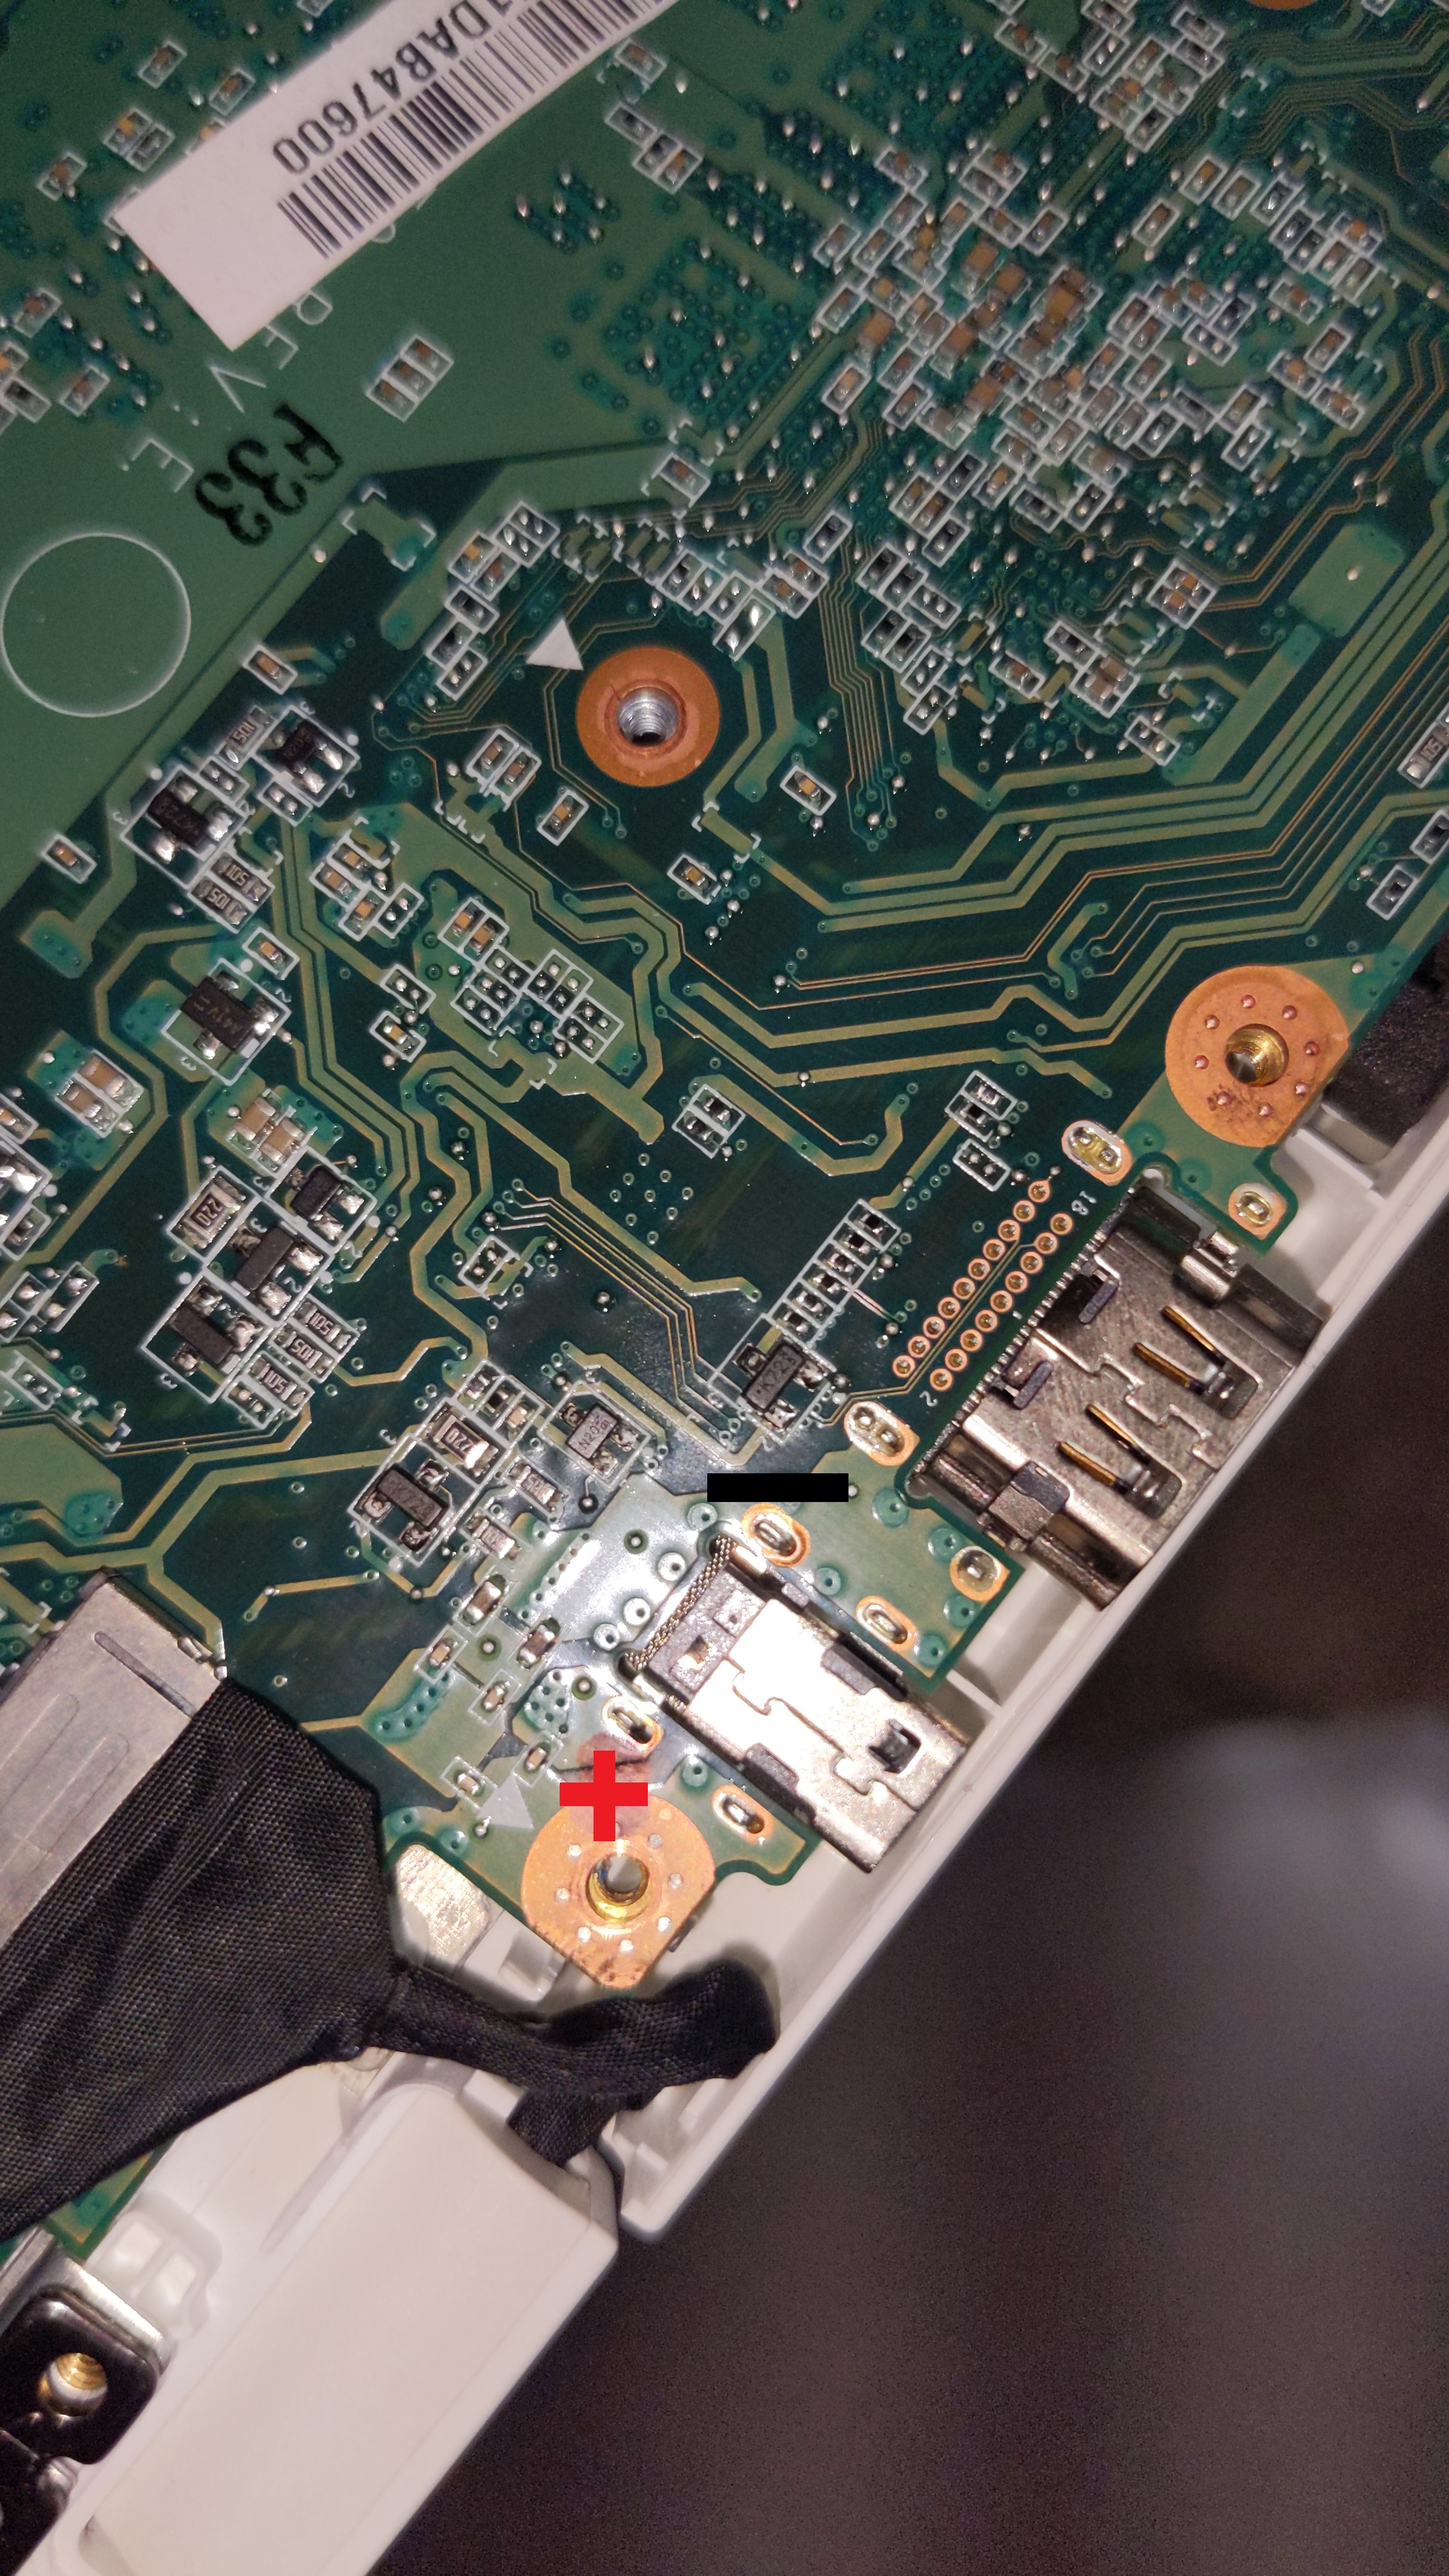
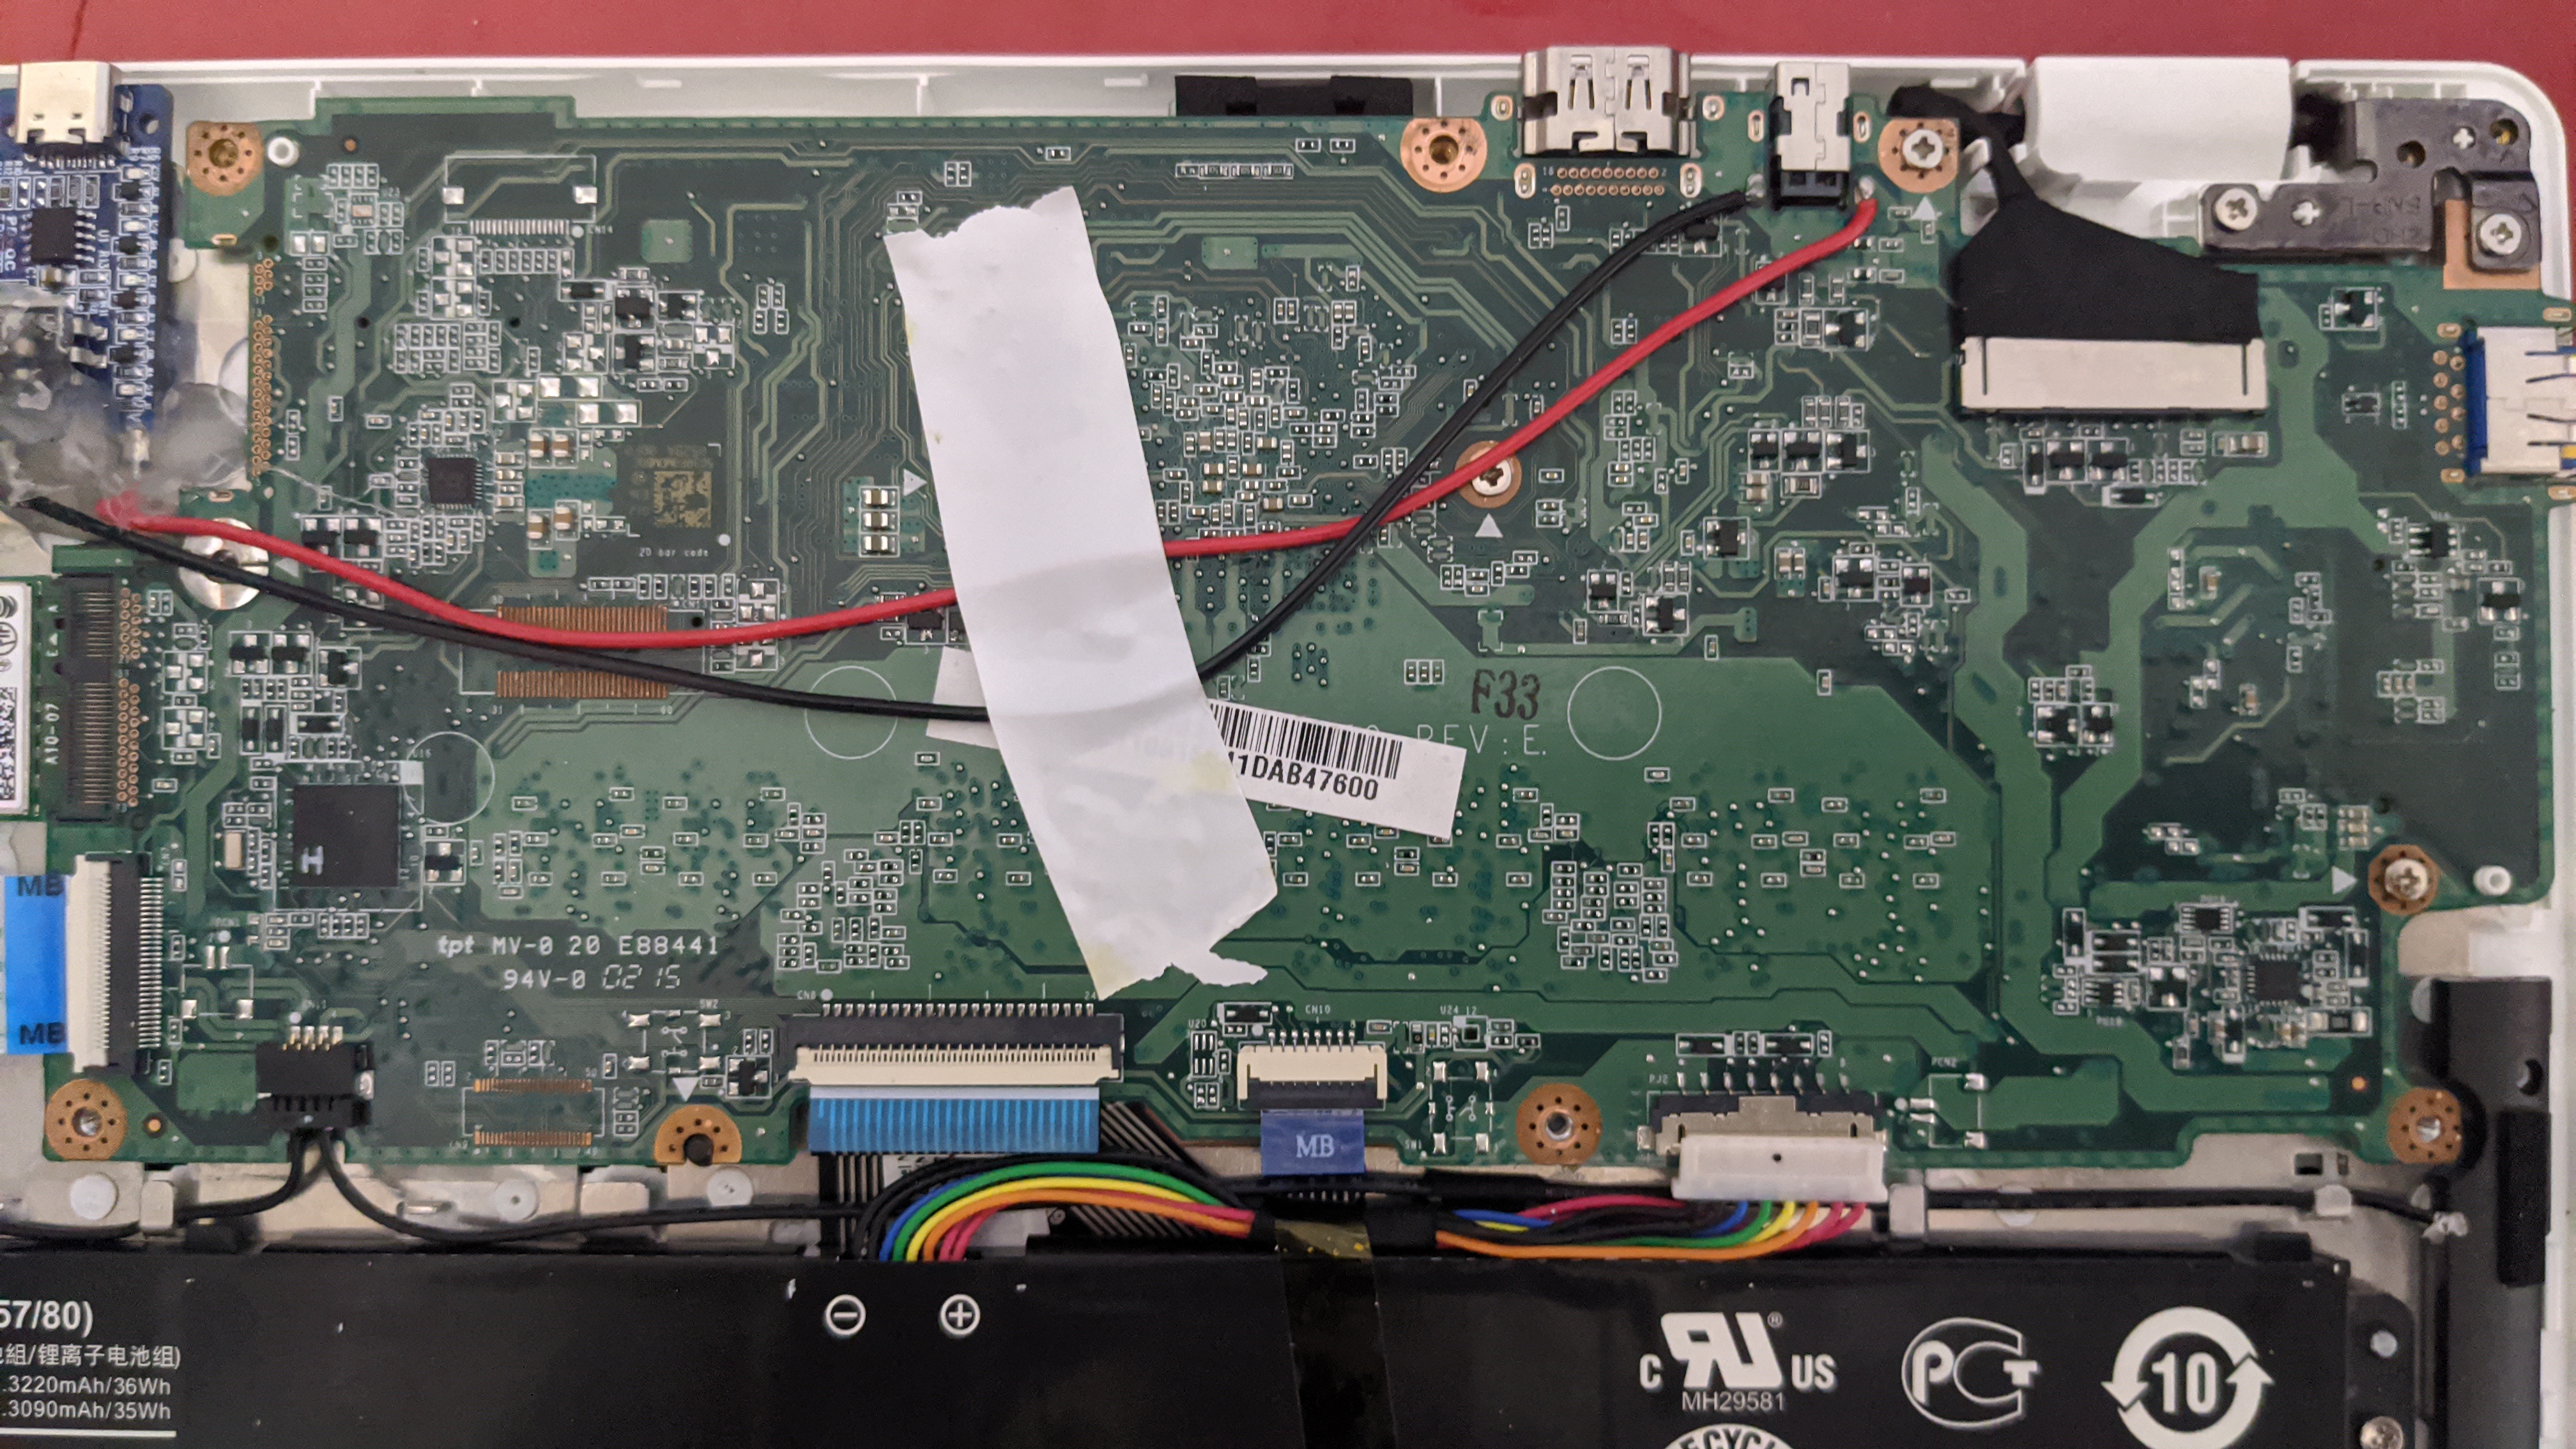
We need to identify which solder point on the DC barrel jack is positive and negative. Easy enough with a multimeter. Verify it yourself, yours might not match.
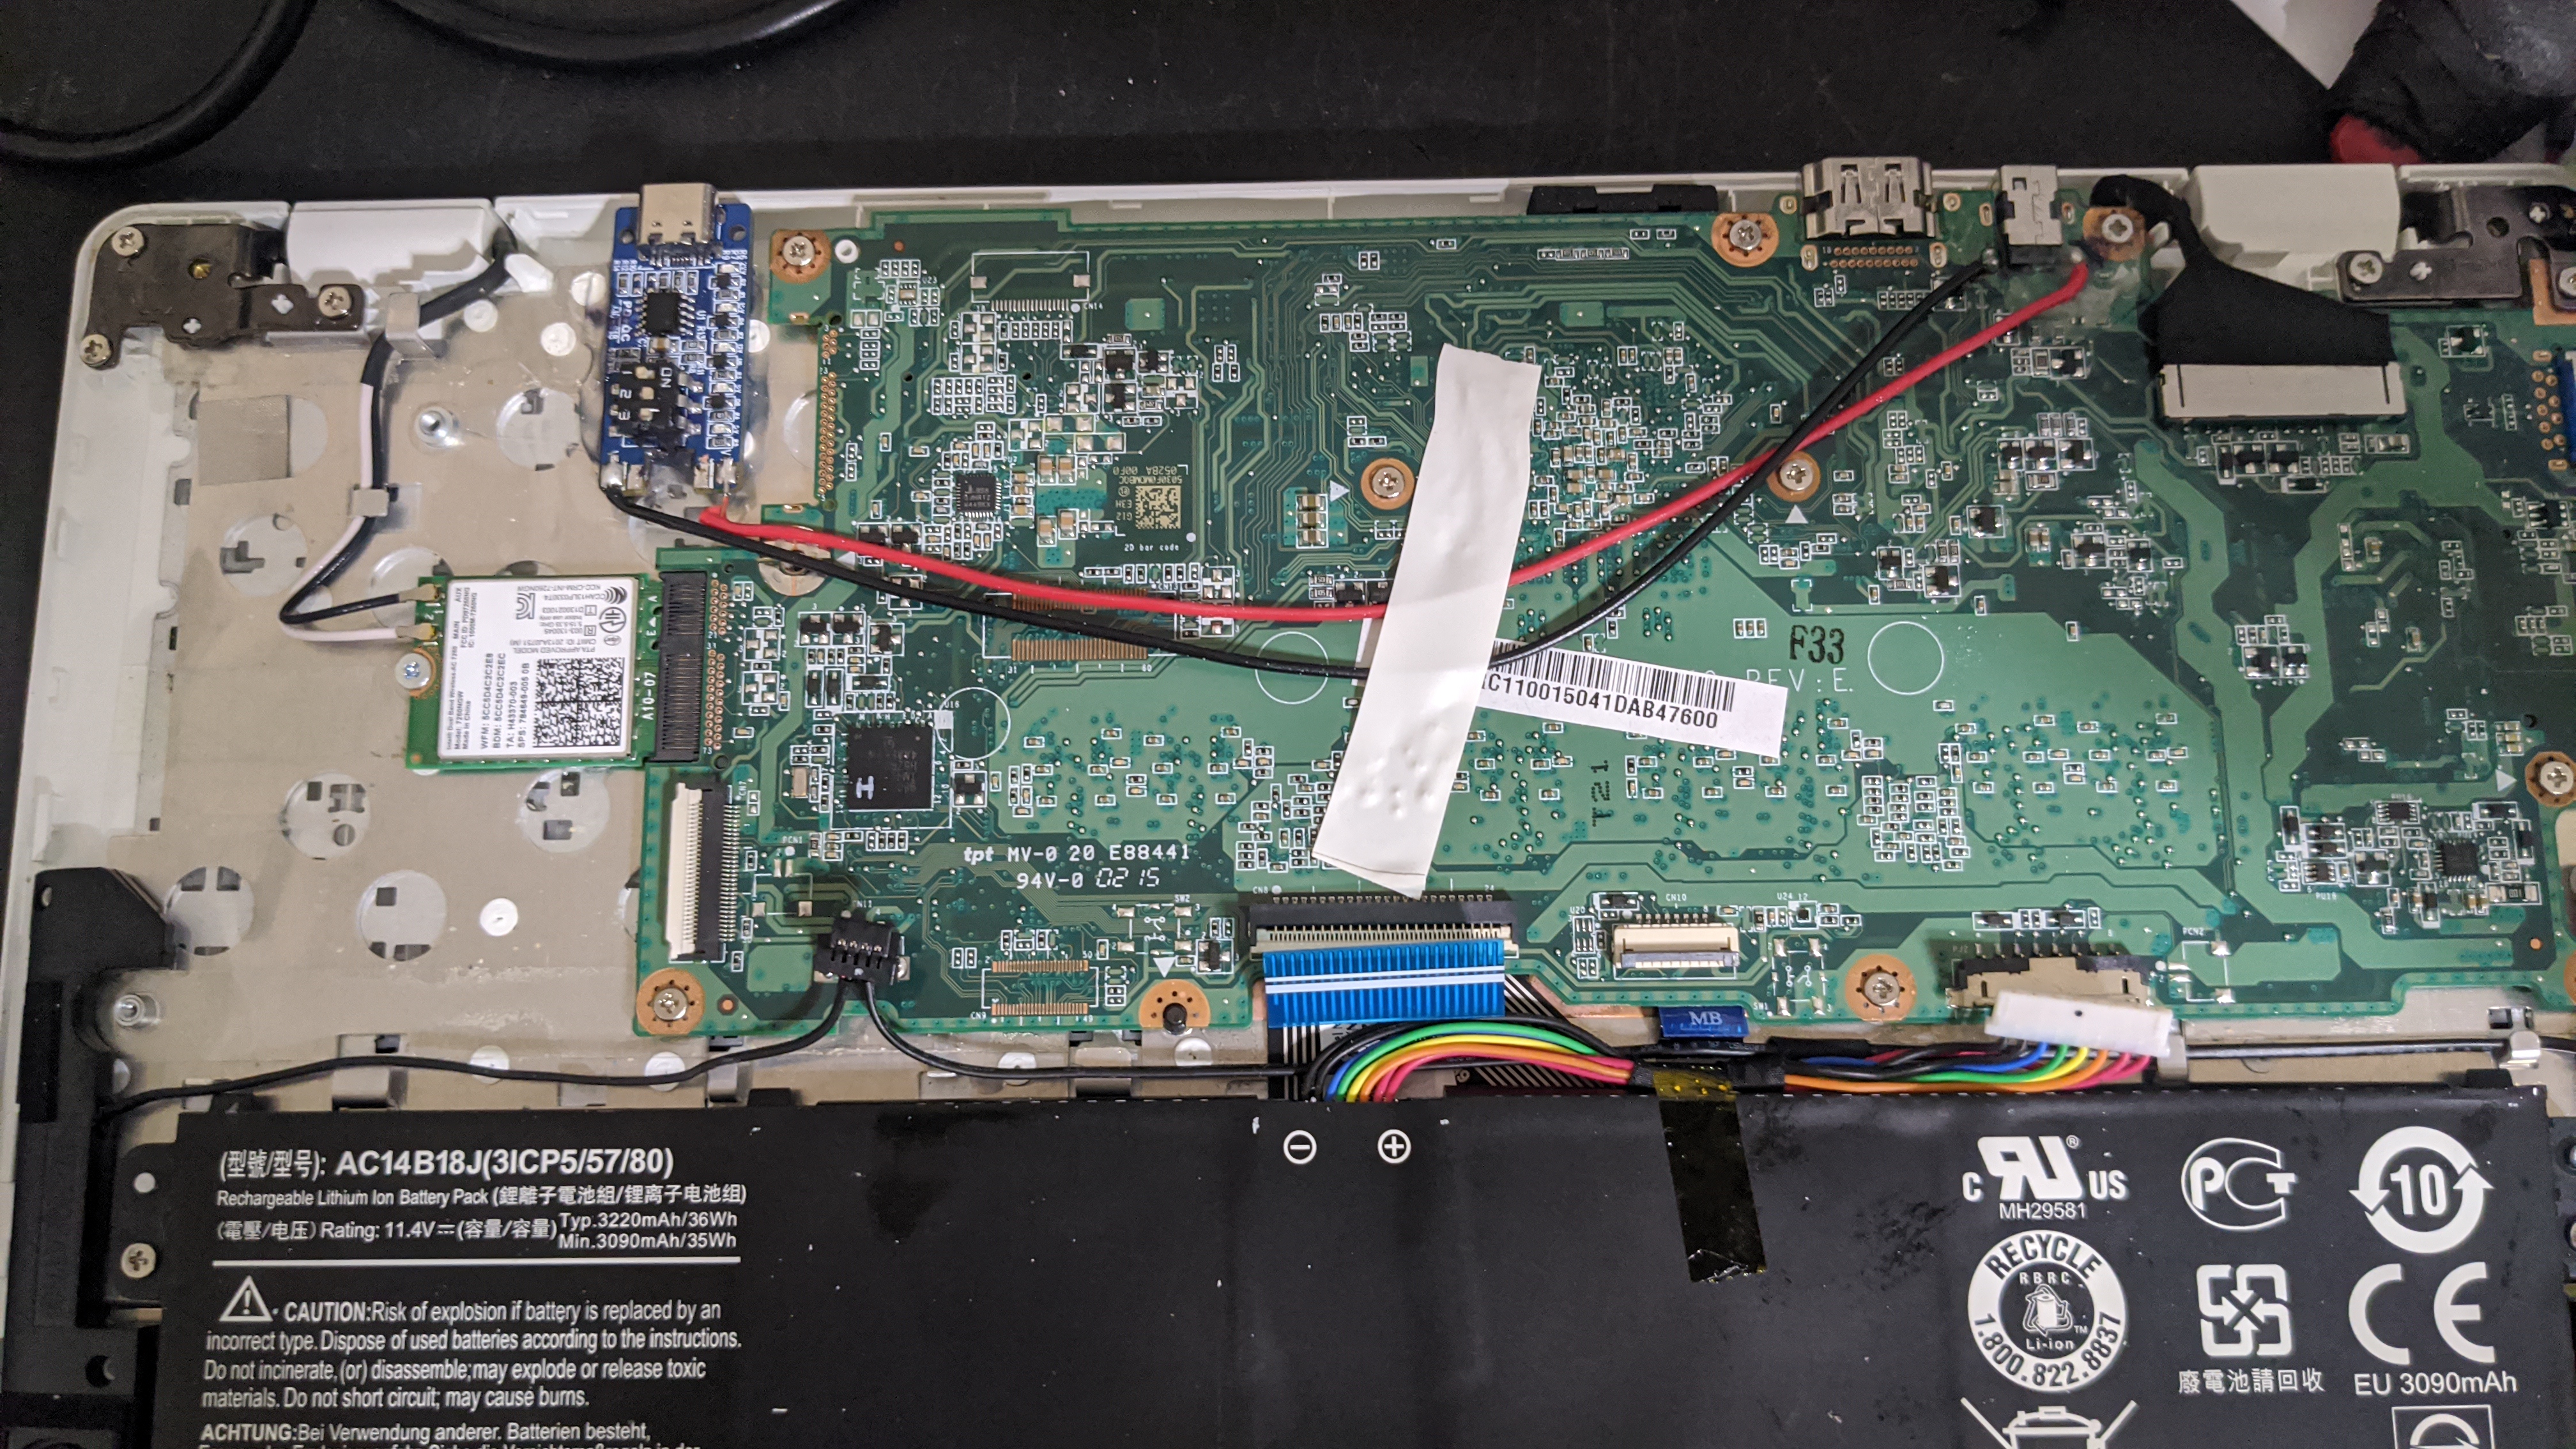
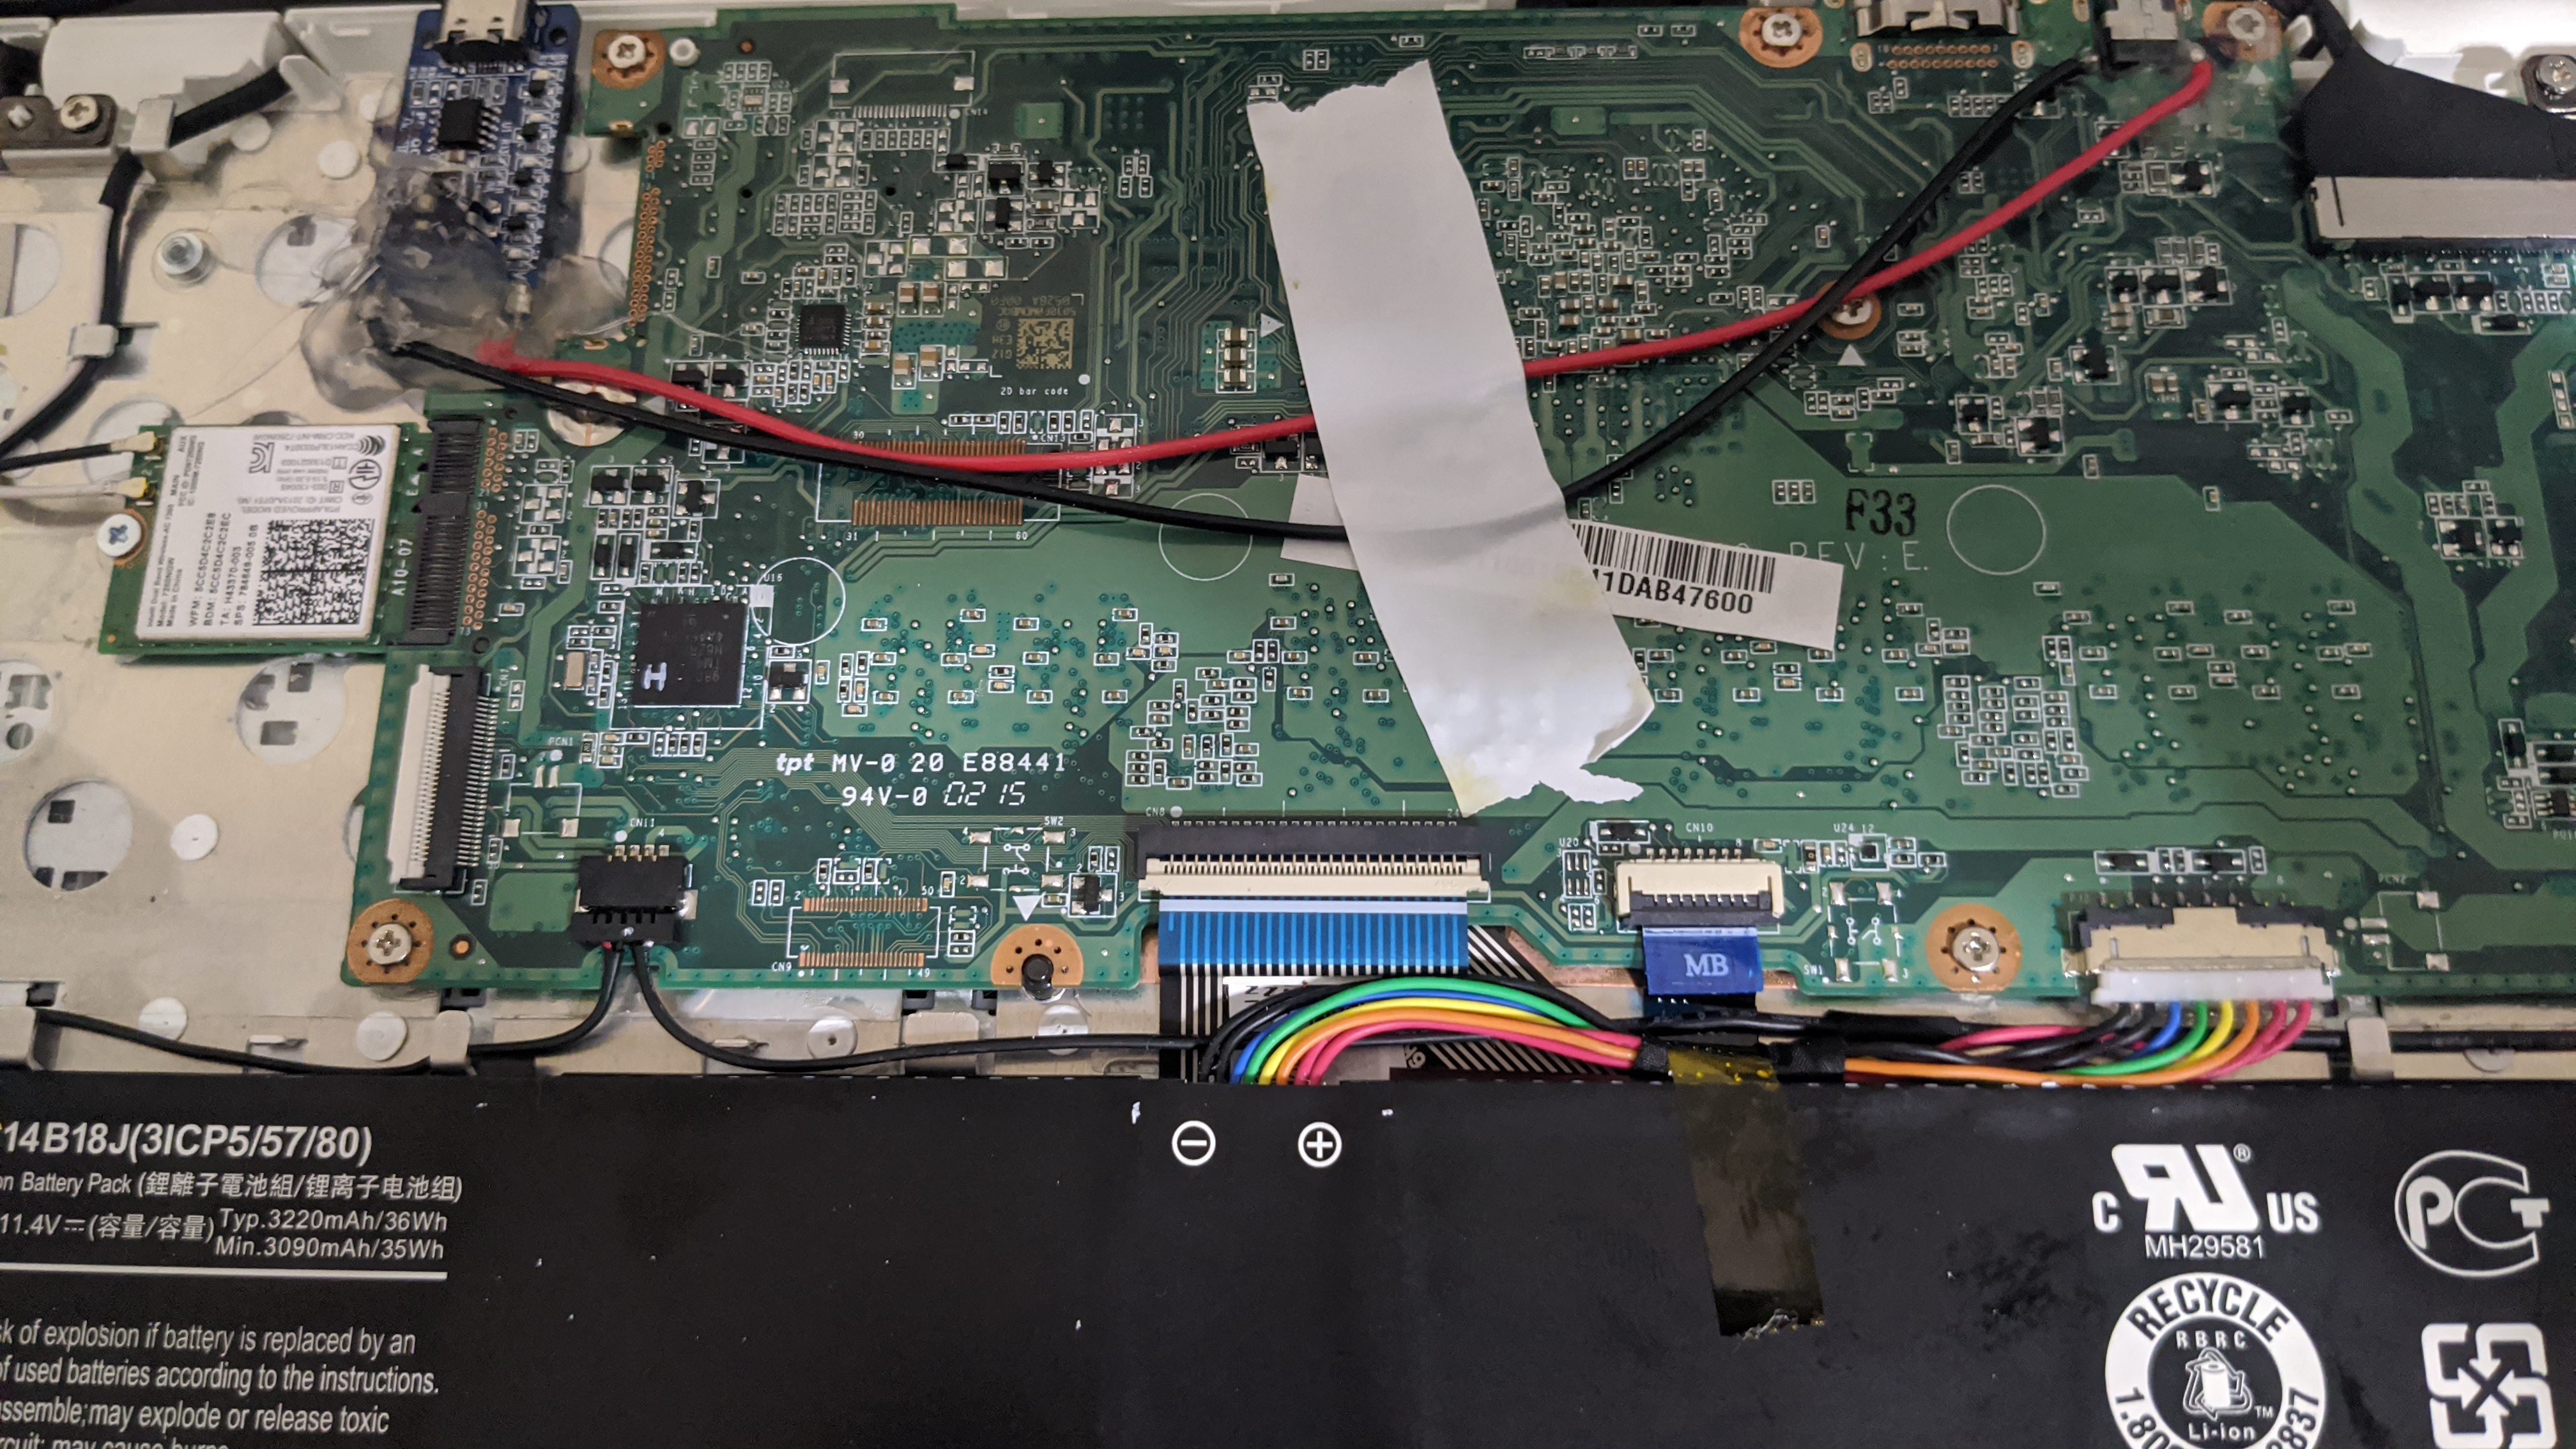
For the next few pics, note my mistake of putting extra screws back into the motherboard where there are no indicator arrows. You'll see the problem this creates later.
Some fiddling with the fit and placement of the PD trigger. Marking with a Sharpie helps. I lined it up with the bottom half of the shell as best I could, then glued in place. I reccomend hot glue for this, as it is enough to reposition using a heat gun if needed.

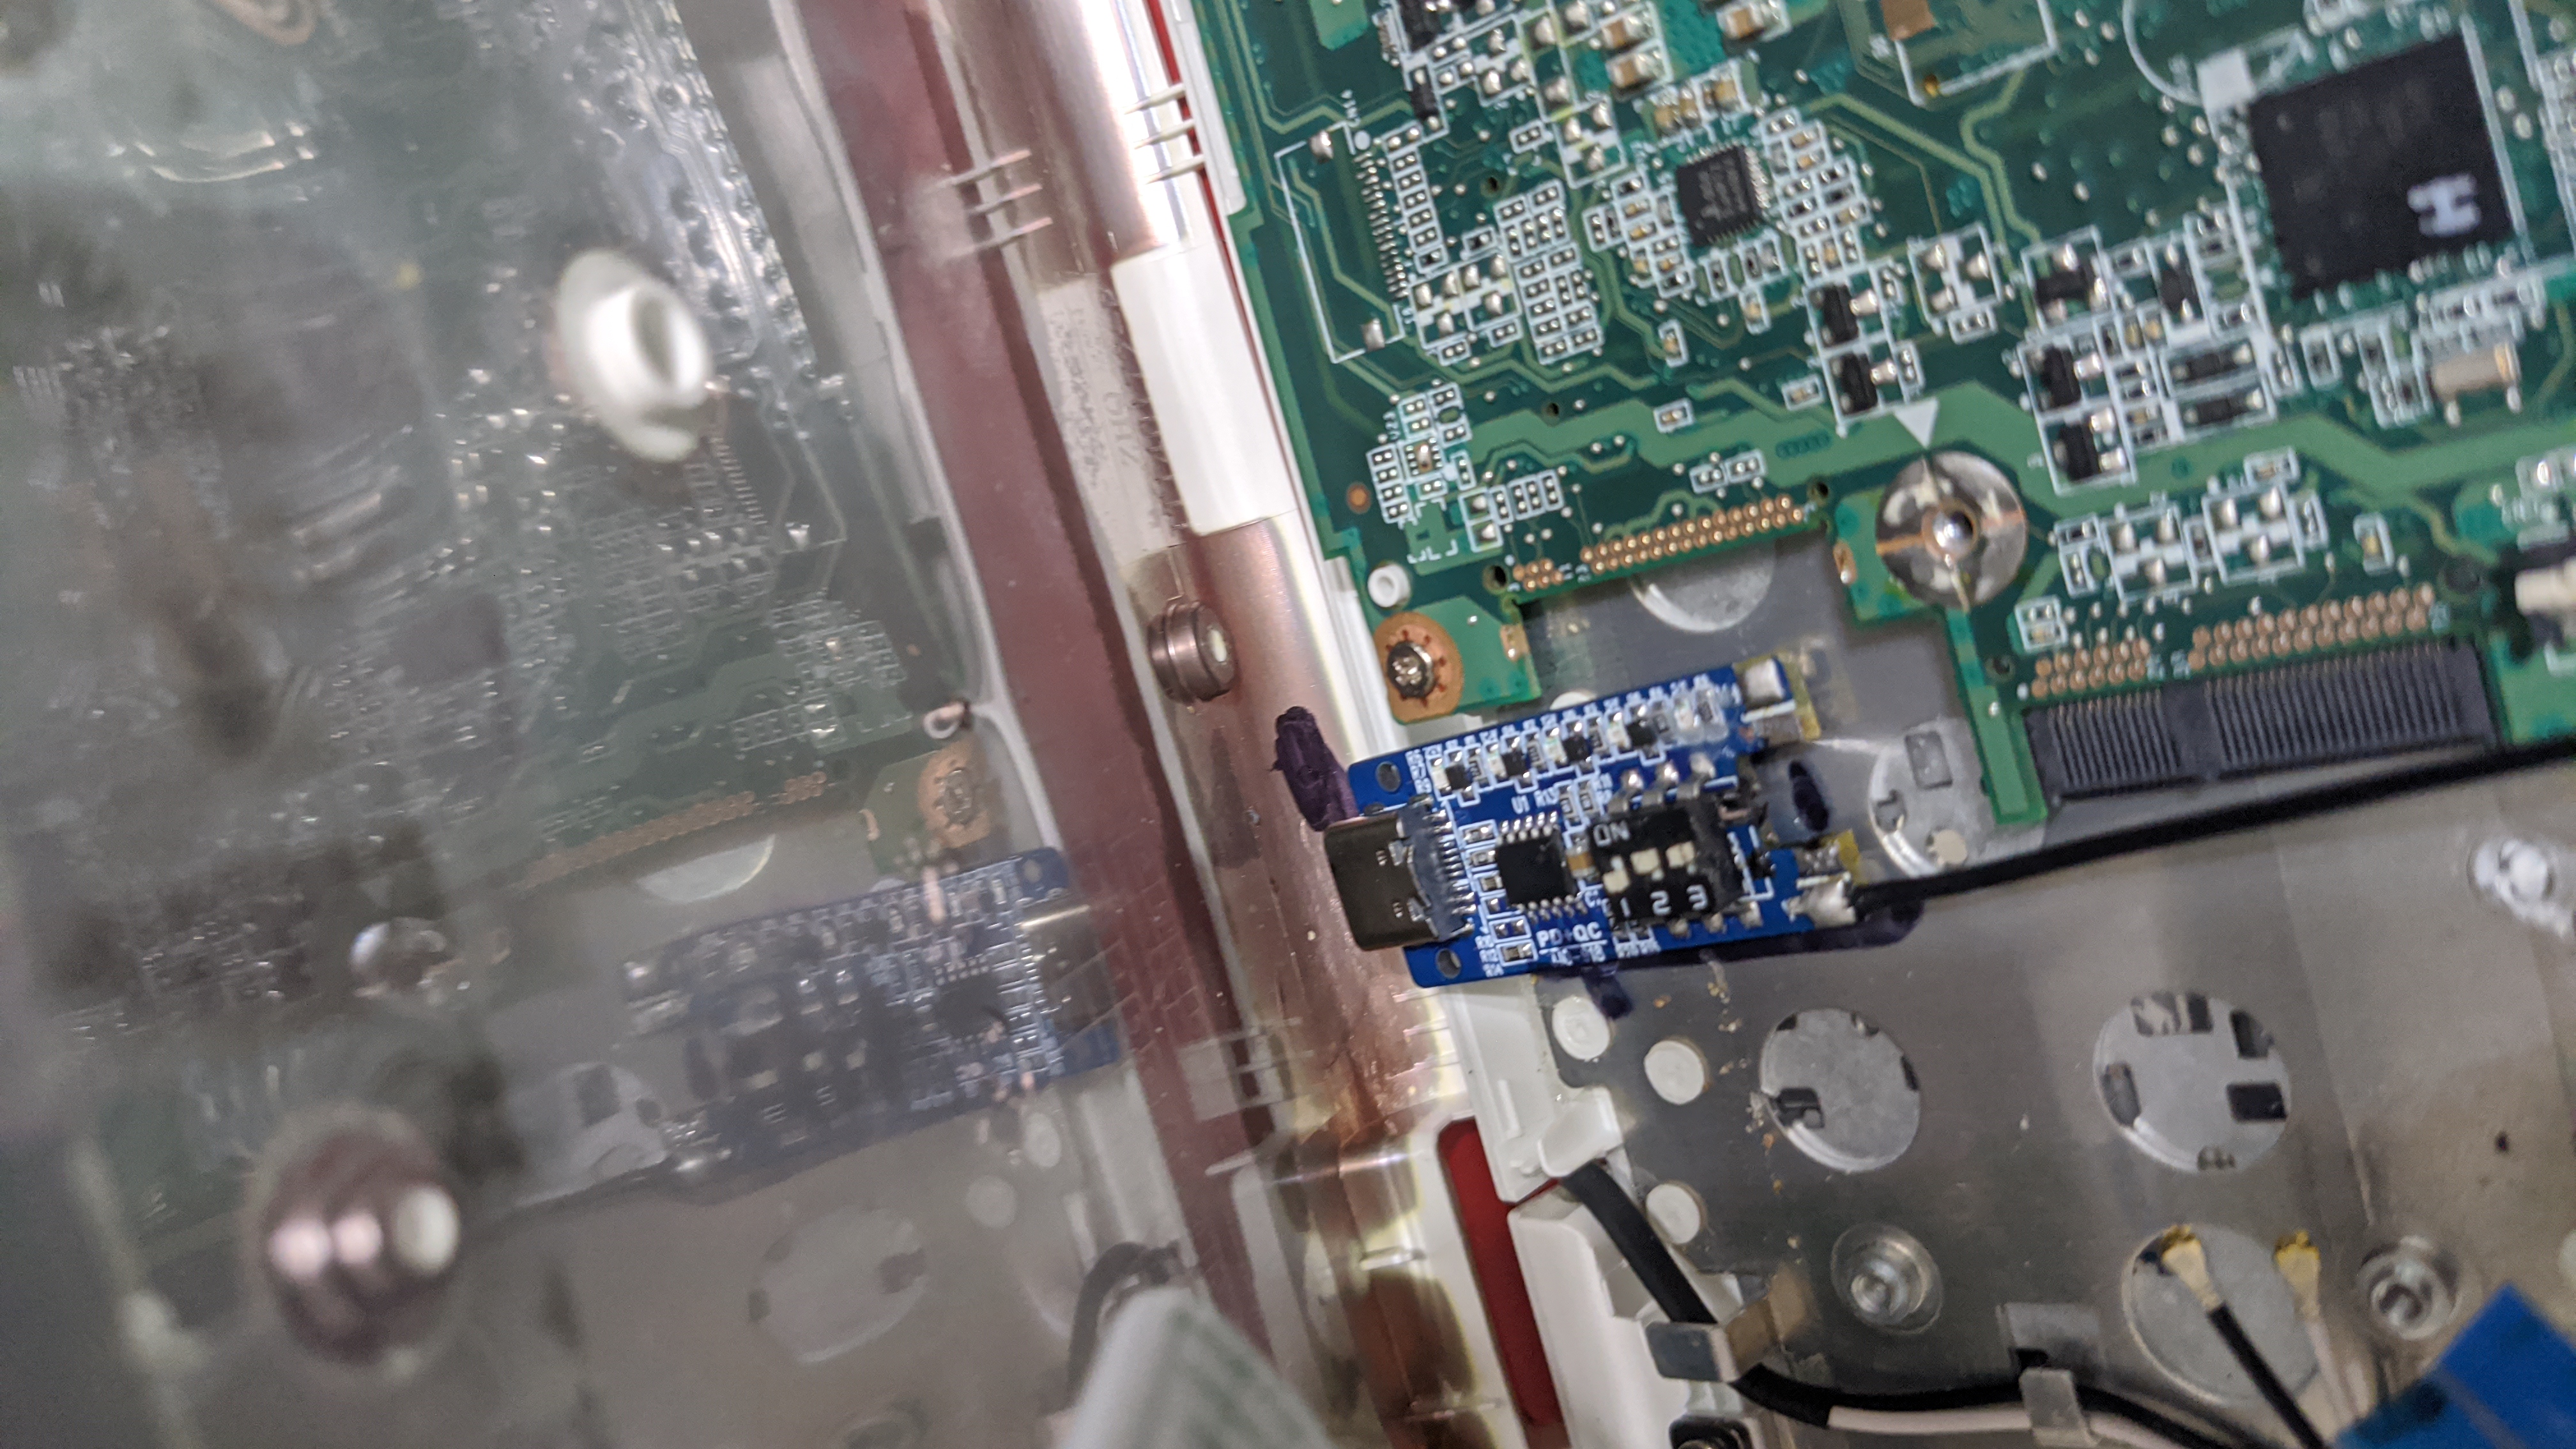
Now we just need to jumper the positive terminal on the USB module to the positive solder point on the barrel jack, same with negative. I didn't have any rolls of small enough gauge wire for this, so I just cut the ends of some breadboard jumpers I had.
Remember to unplug the power and disconnect the battery before soldering.
A little electrical tape to hold them flat against the board, and some final minor adjustments to the placement of the module.
I forgot to take pictures of this, but during final placement you will want to test fit whatever hole you've cut/drilled into the shell and make sure it lines up.
Clean the flux off the board and we're basically done! Given that my USB PD trigger module had voltage-varying dip switches I decided to use a glob of hot glue to hold them in place.
Don't make the mistake of forgetting to reconnect the battery, like I did!
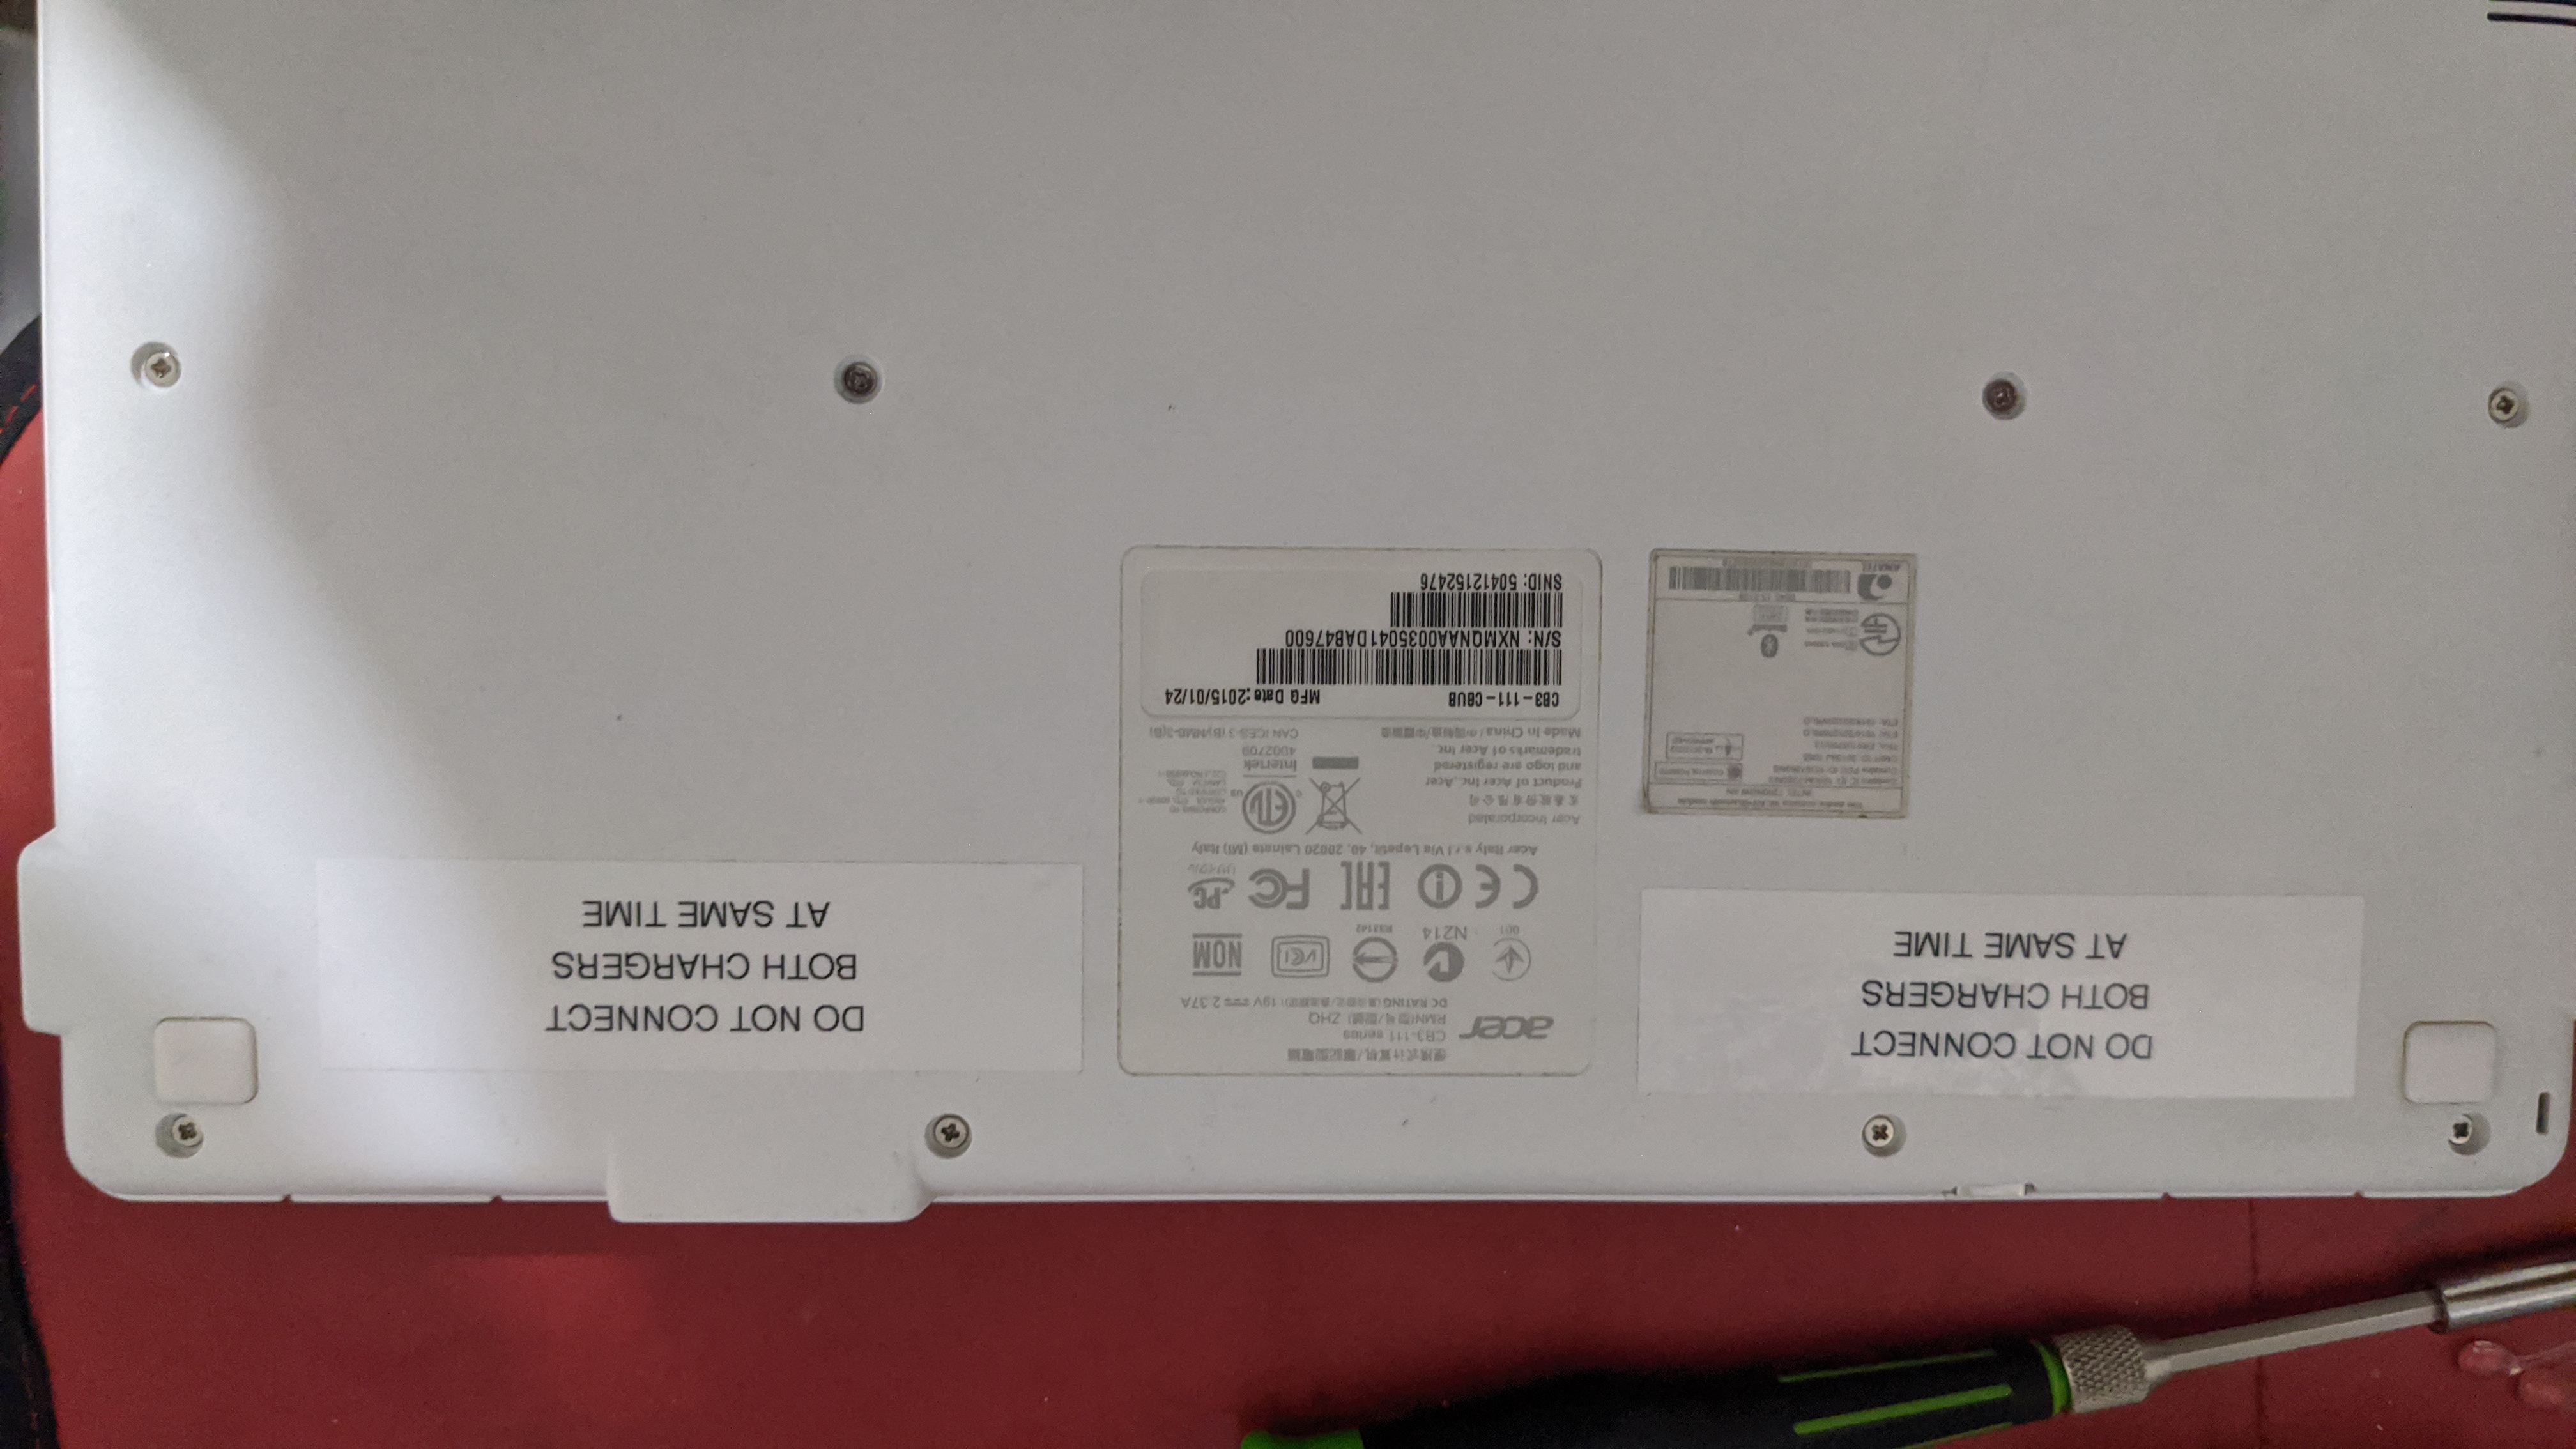
And reassemble! A note on this, if you removed the motherboard, don't refill ALL the screw holes in it (mistake I made), they are meant to share screw holes with the case. The ones marked with red tape and their corresponding holes on the board should be fastened through the bottom half of the shell only. Only the holes on the board marked with a small arrow should have screws in them before this point.
Now here's the tricky part, again, you must be extra careful to not connect both chargers at once. One way I can see to remove this risk is to solder a selector switch in the middle of the jumper wires, and drill and additional hole through the case for that. But that seemed like too much work for a Chromebook that is probably worth less than $100 these days.
So instead I went with this high-tech solution:
A picture of the case mod. Came out a bit sloppy but best I could manage with a drill, some small files, and eyeballing the fit. Maybe I'll use a tiny dab of epoxy or something to fill the gap. Edit: Did this, see below.
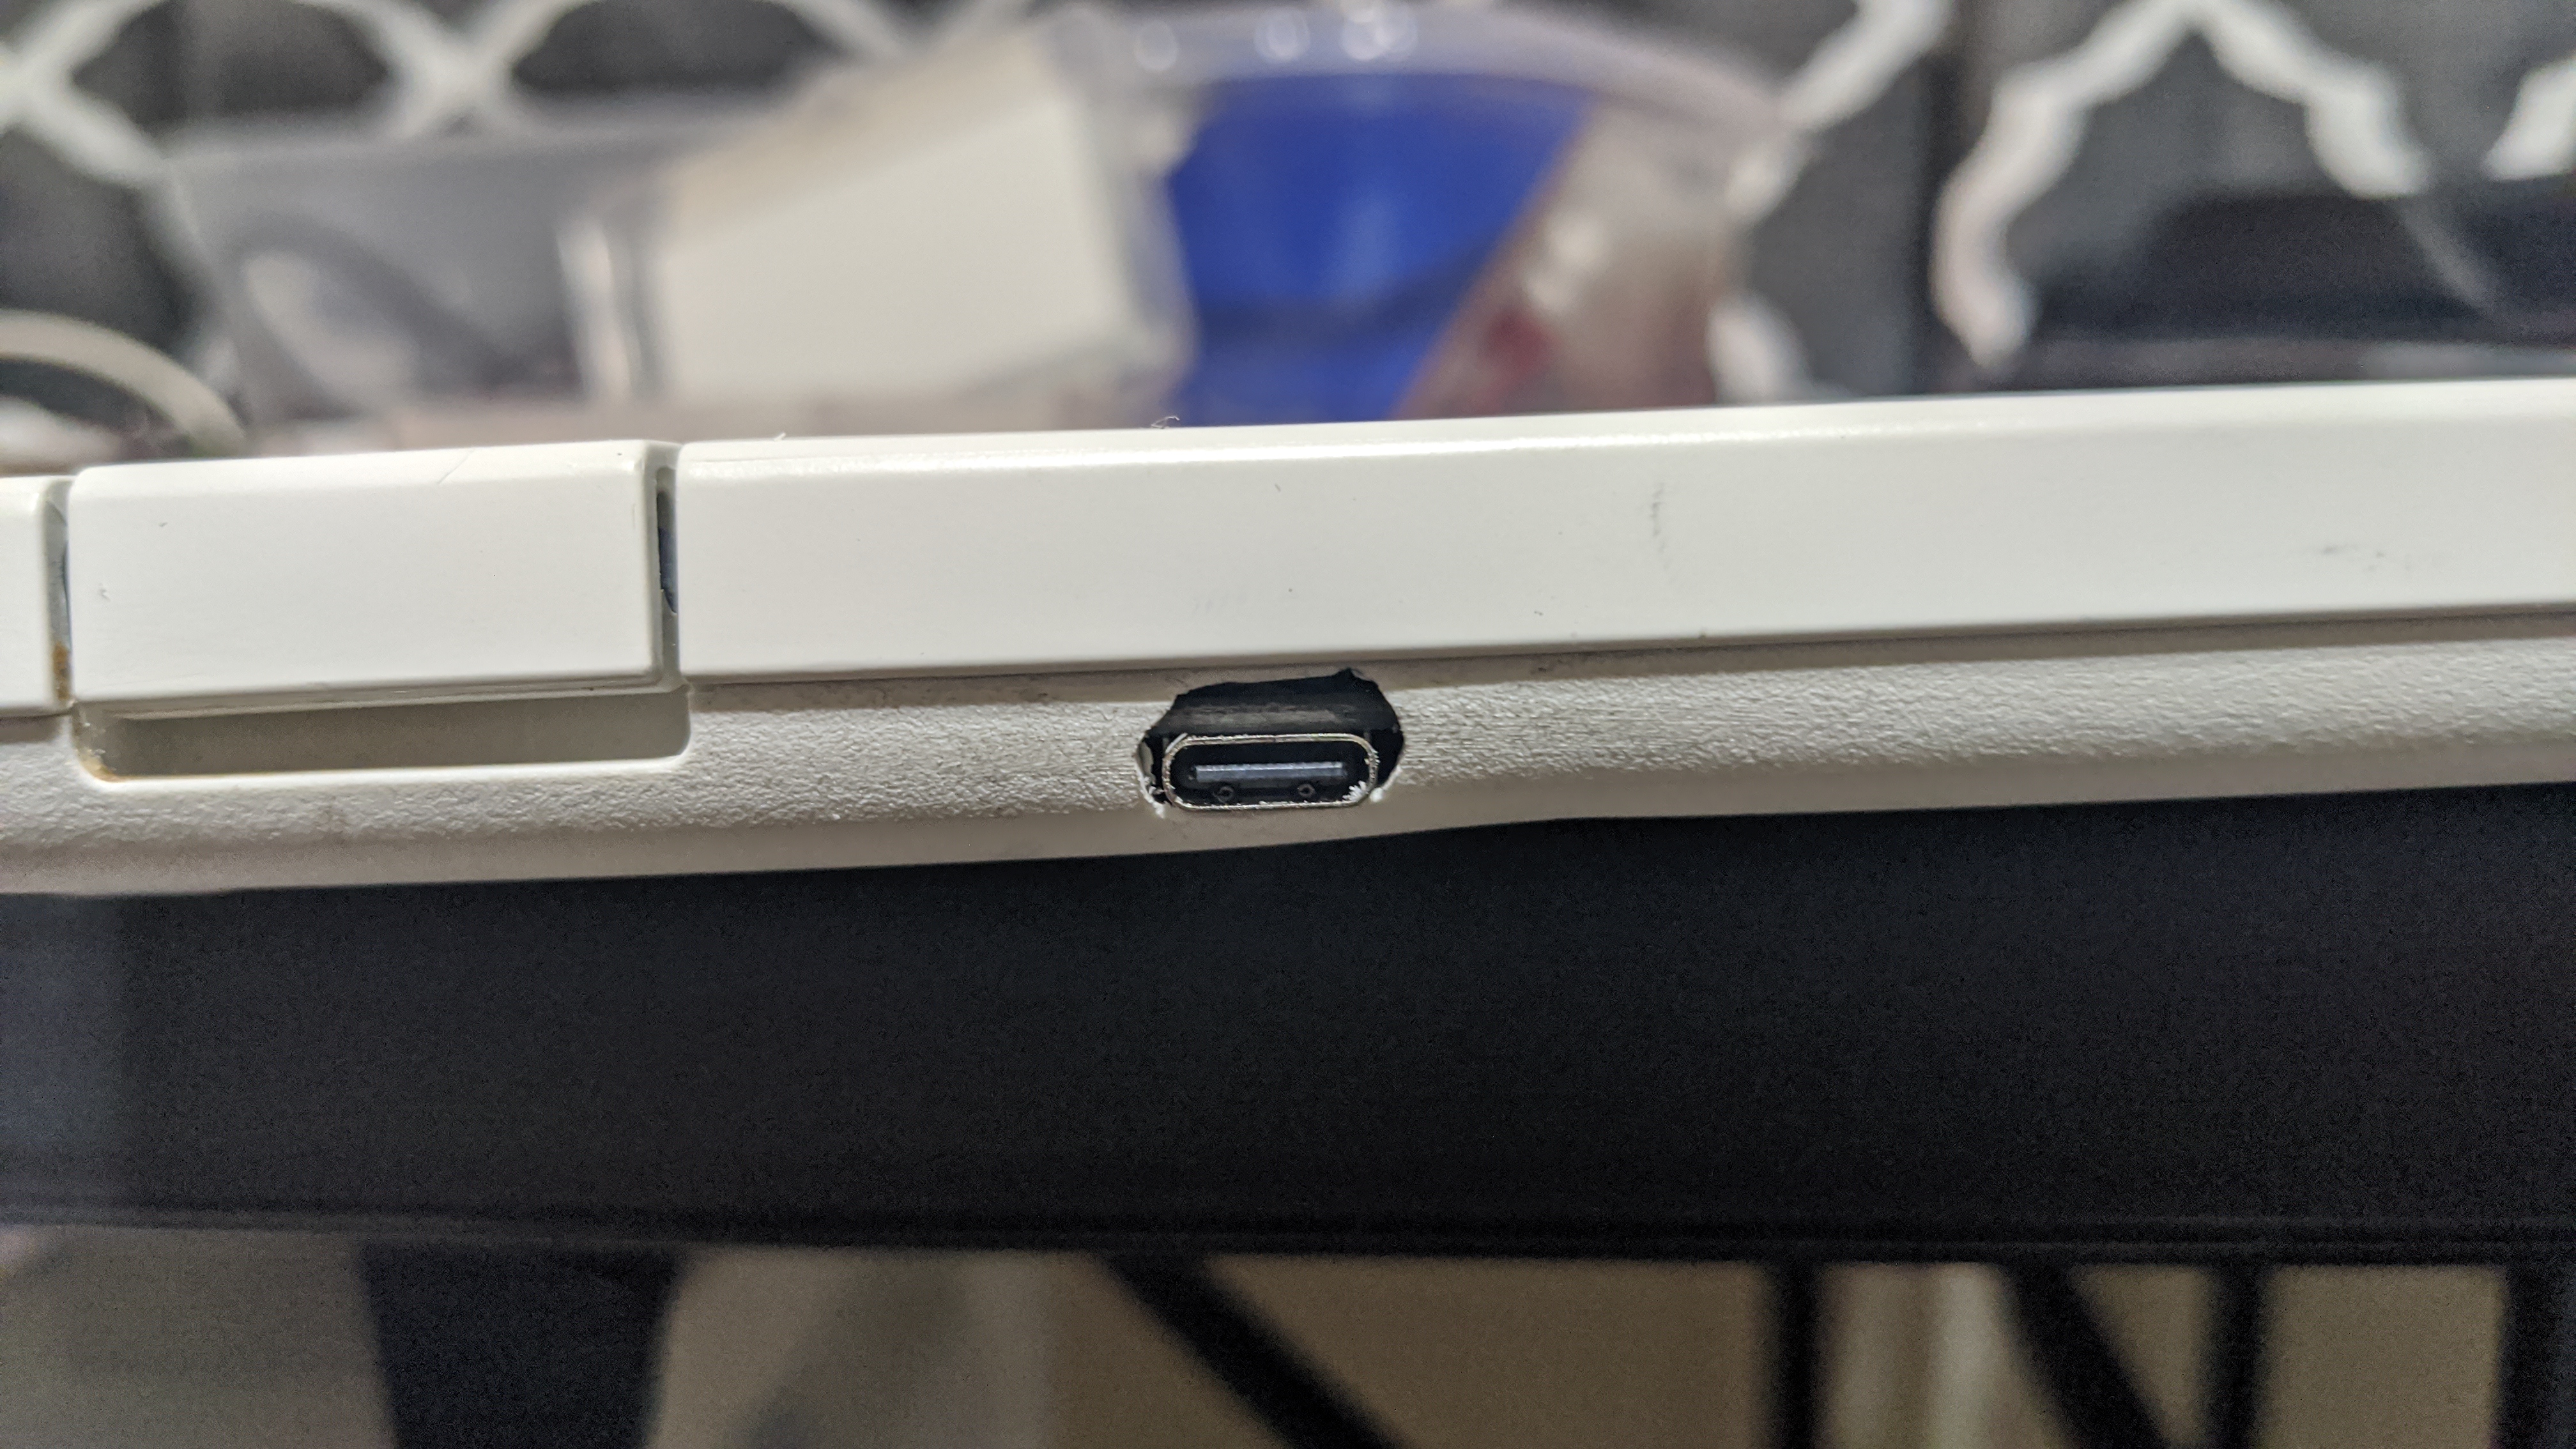
And voila! We are now charging with USB-C!
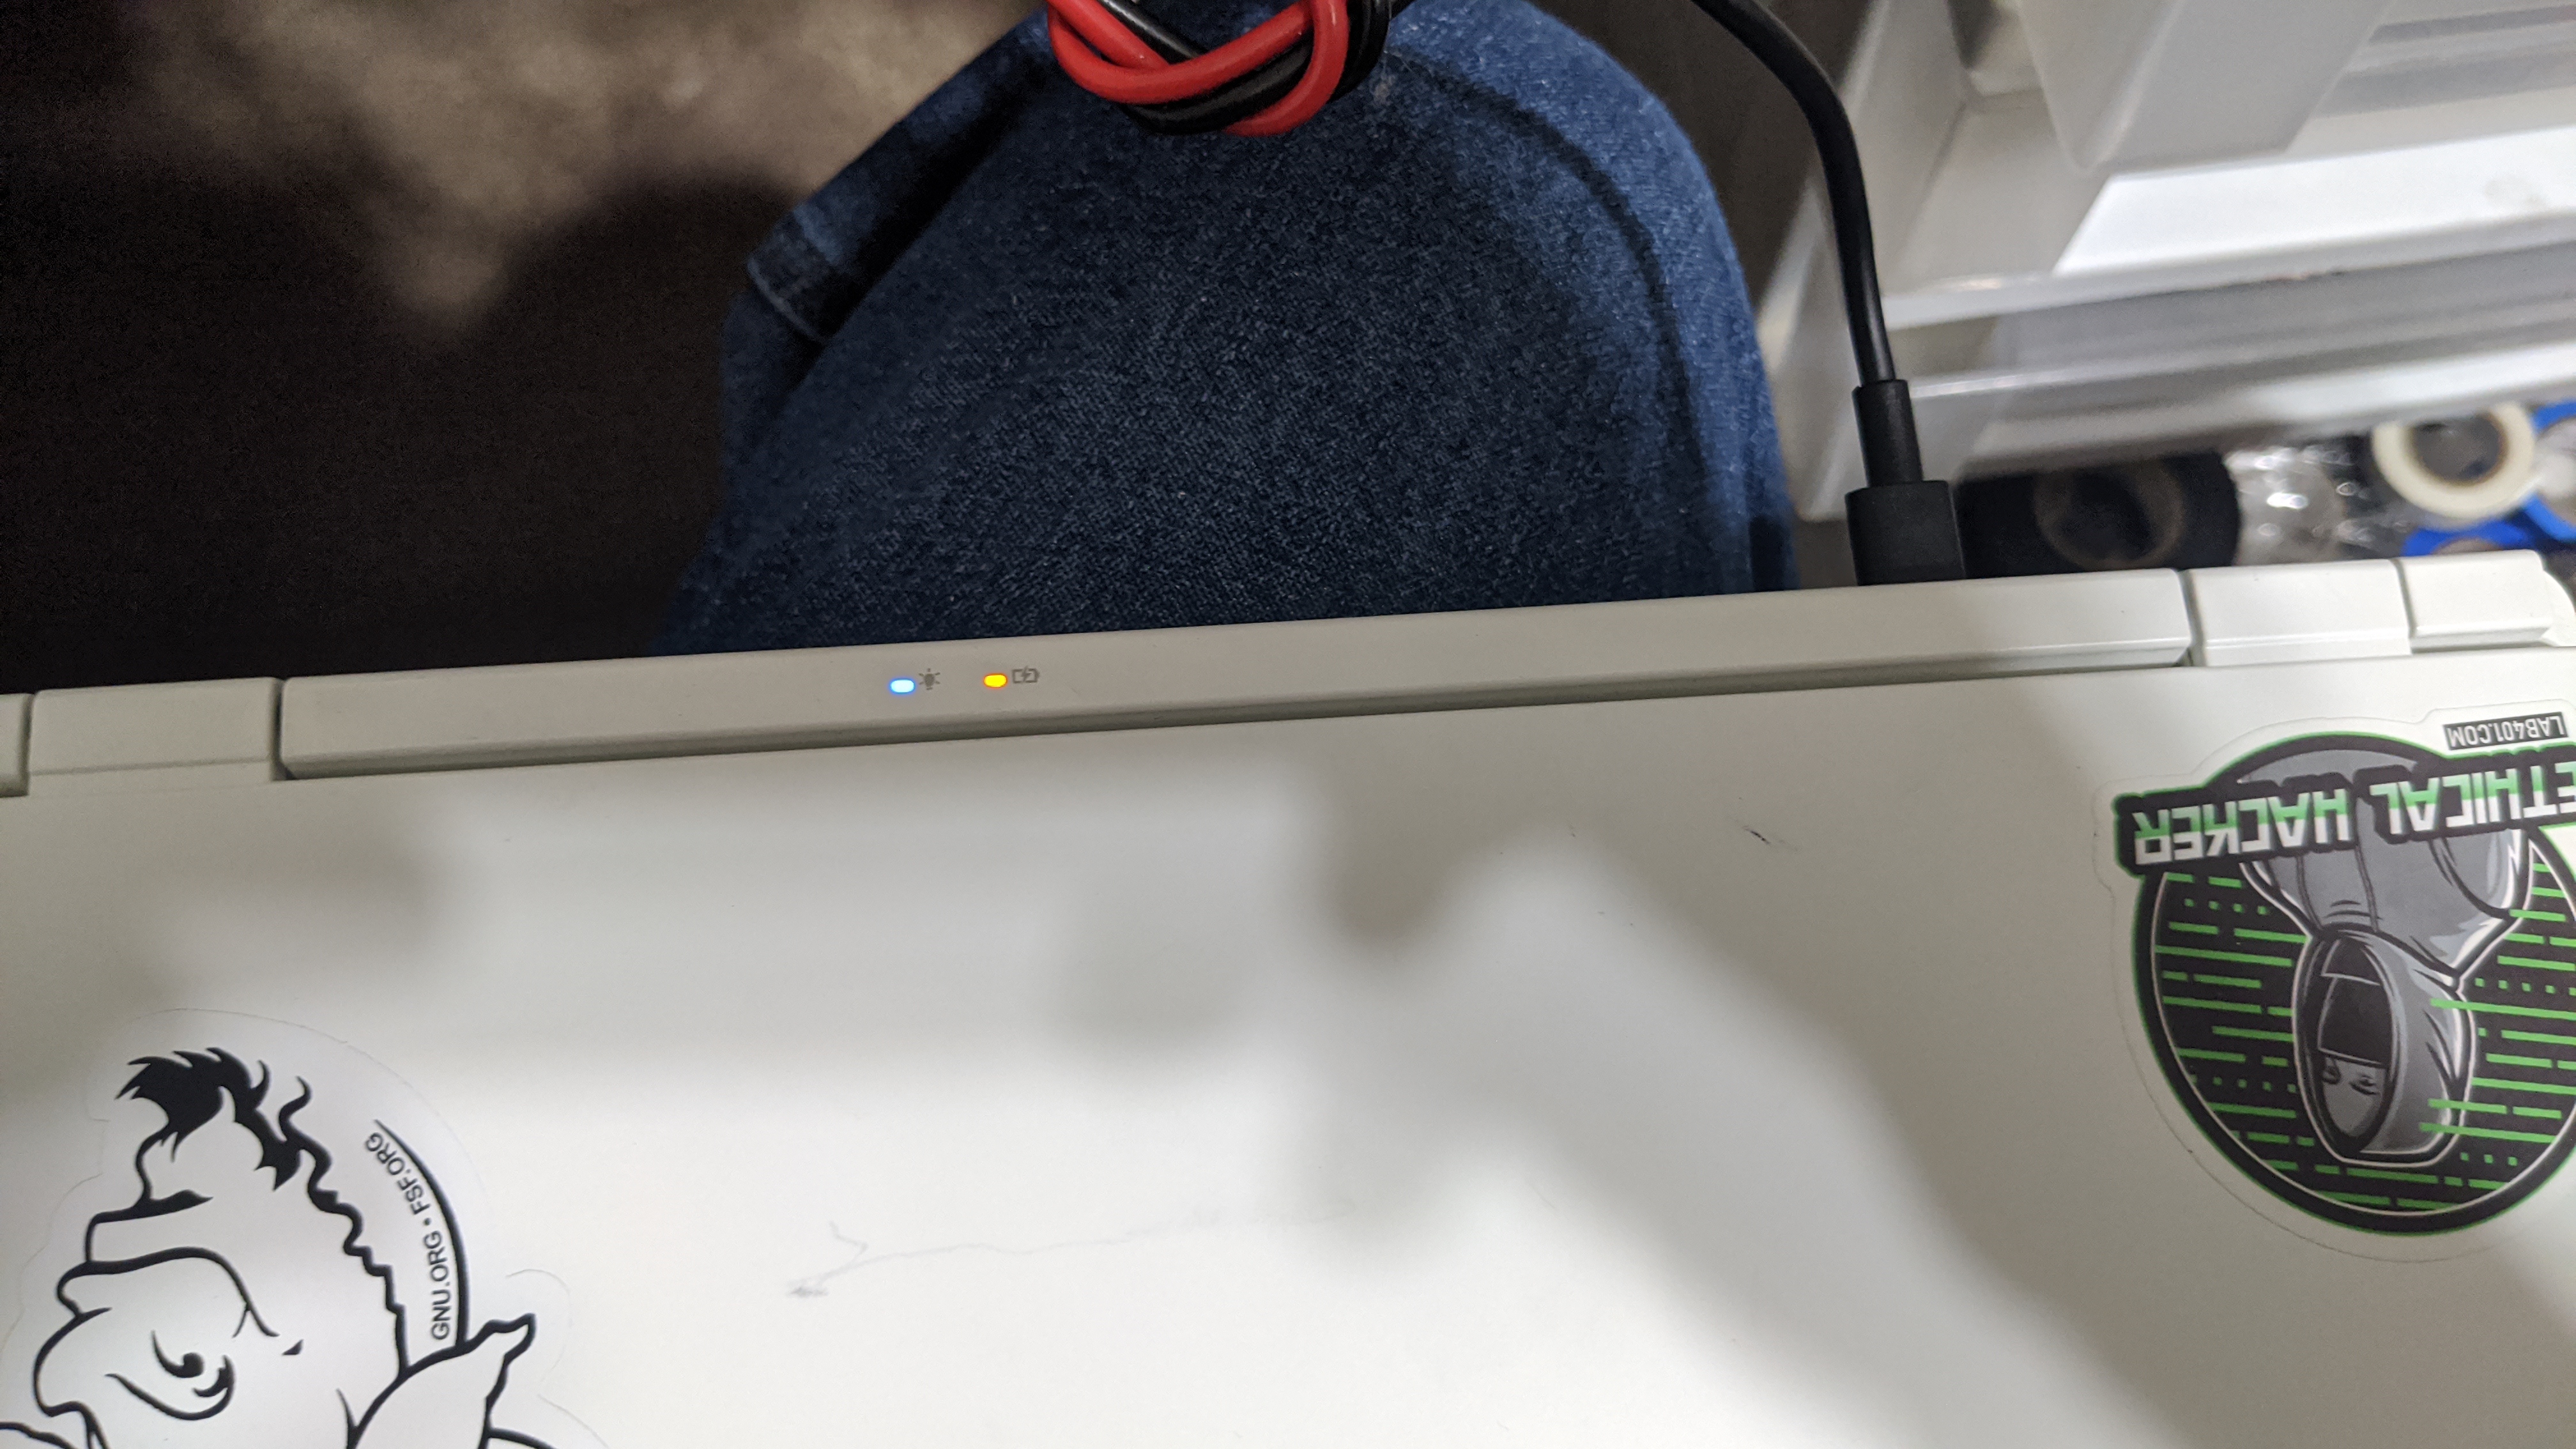
Using my Steam Deck charger (20V), charging speed seems good.
Overall, turned out pretty good I'd say, and definitely way more convienent!
Update: "Fixing" the gap around the charge port
I used some expoxy, the kind you knead together, baiscally off-brand Mighty Putty to fill back in around the plastic where I drilled out the hole for the charger port.

Let it dry, then a little sanding, a coat of white spray paint...

And we're done!

Well, it looks better than it did at least. At a glance, it looks normal.